
jenkins
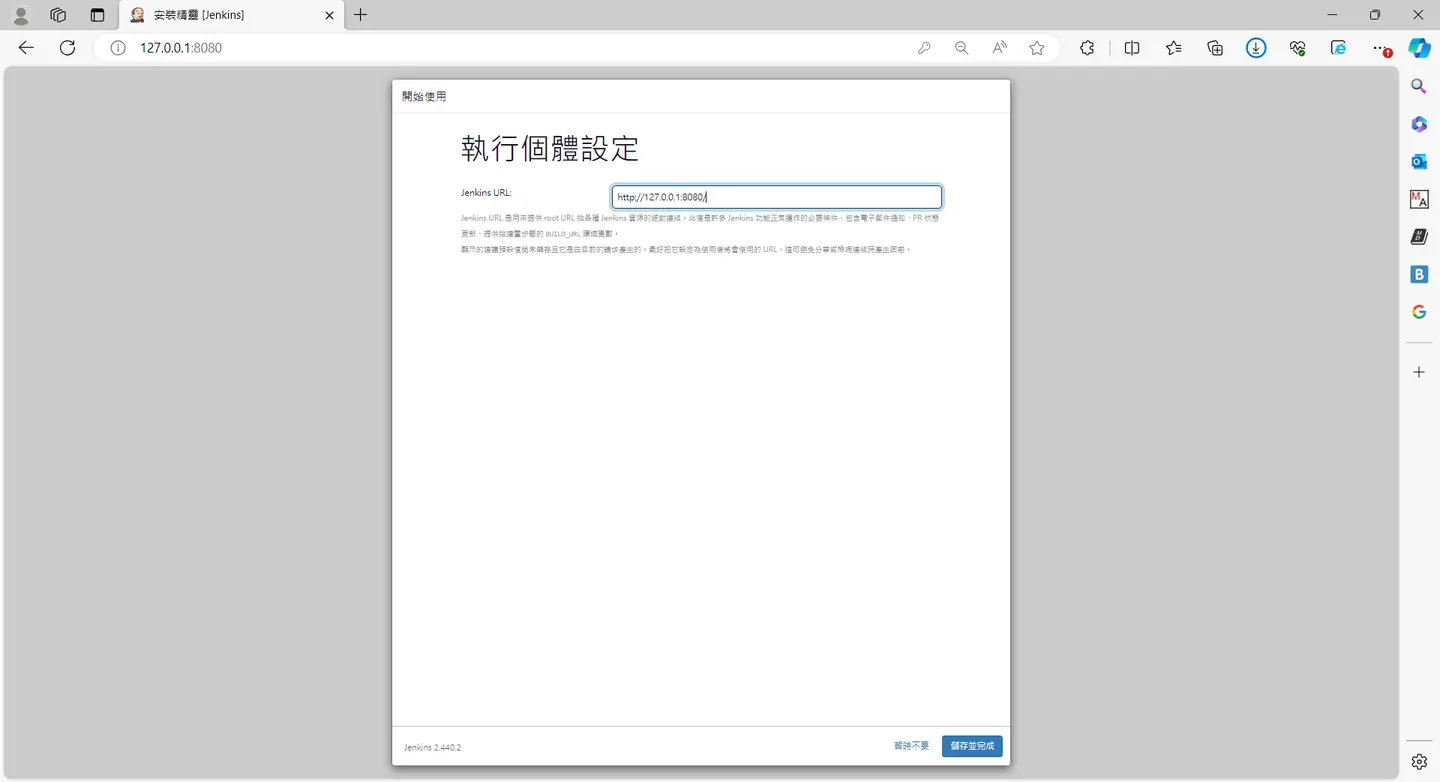
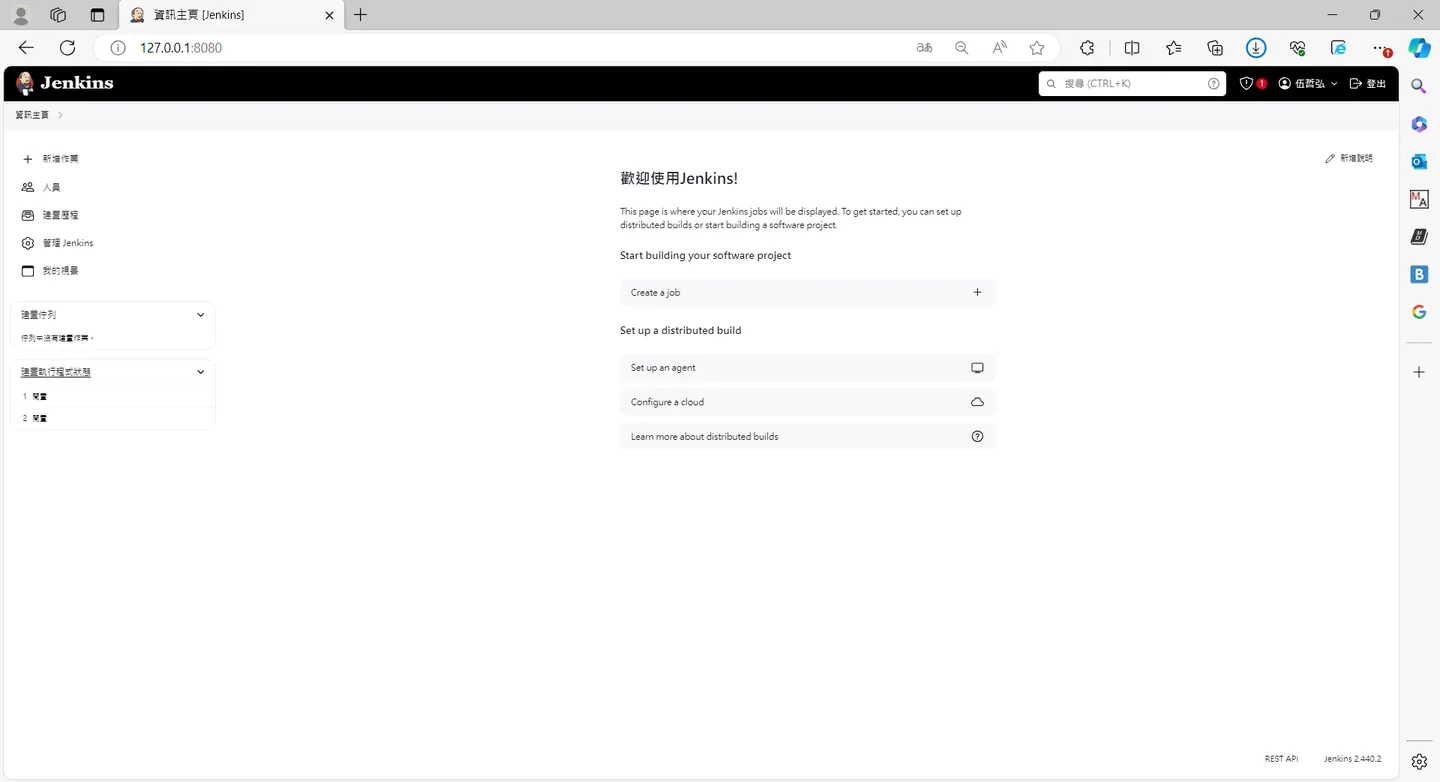
docker pull jenkins/jenkins:lts
docker run -d -p 8080:8080 -p 50000:50000 --name jenkins jenkins/jenkins:lts
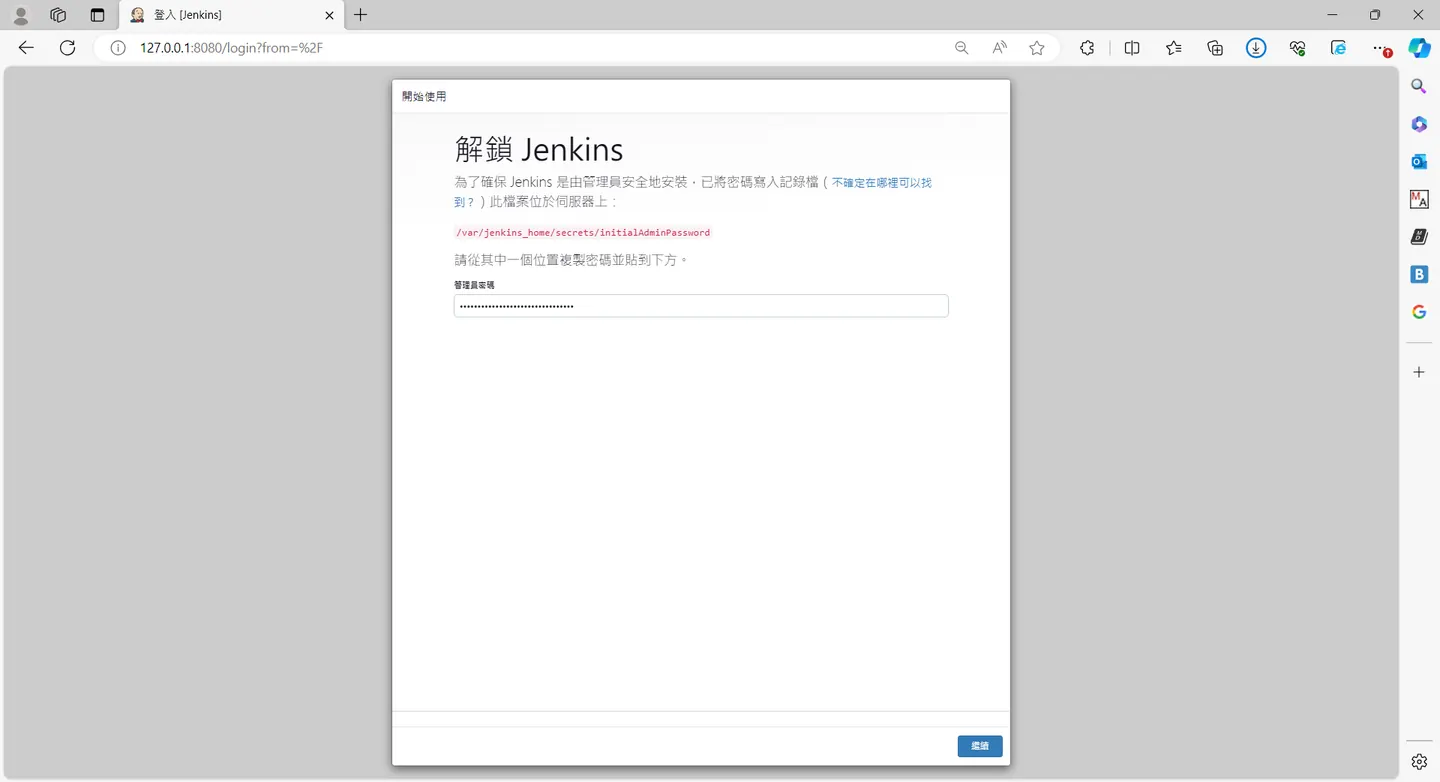
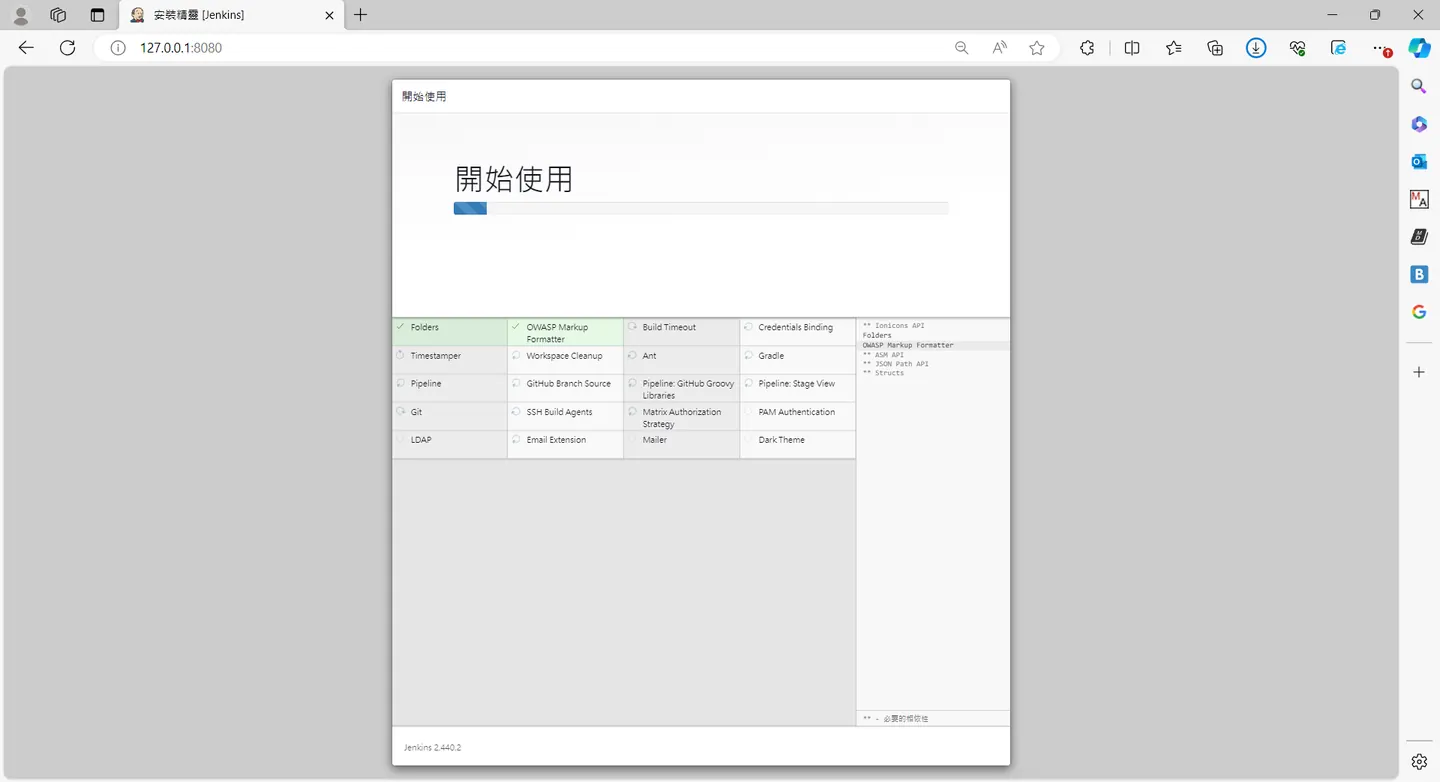
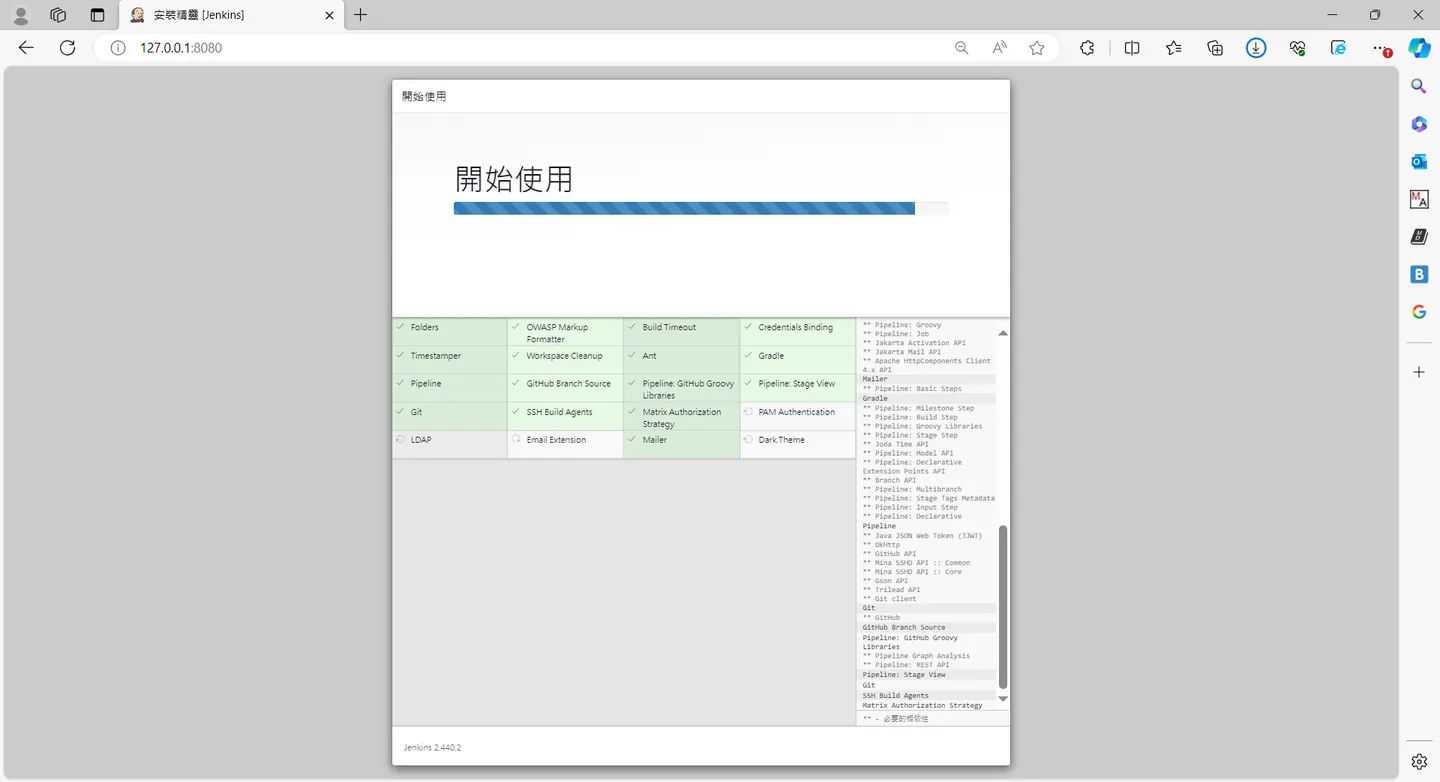
docker logs jenkins
gitlab
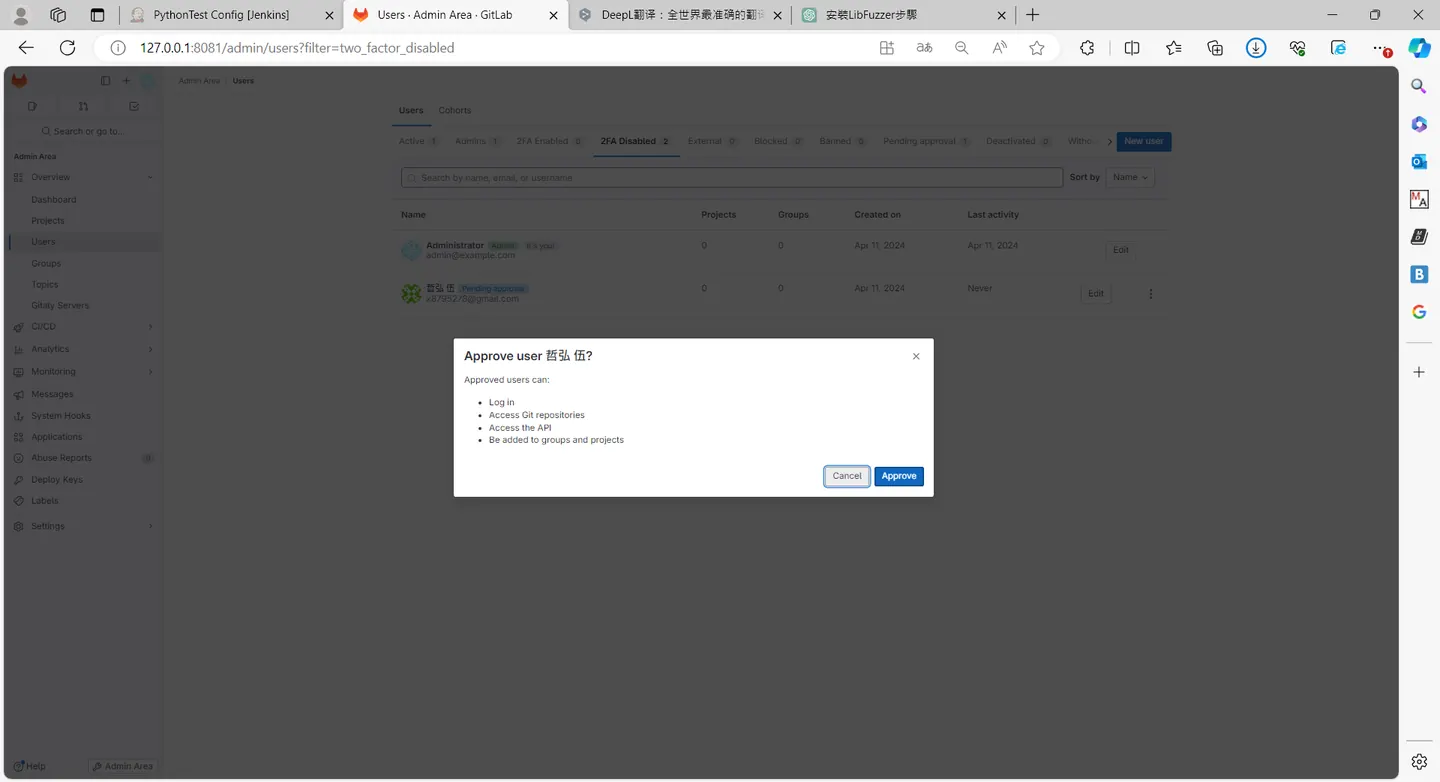
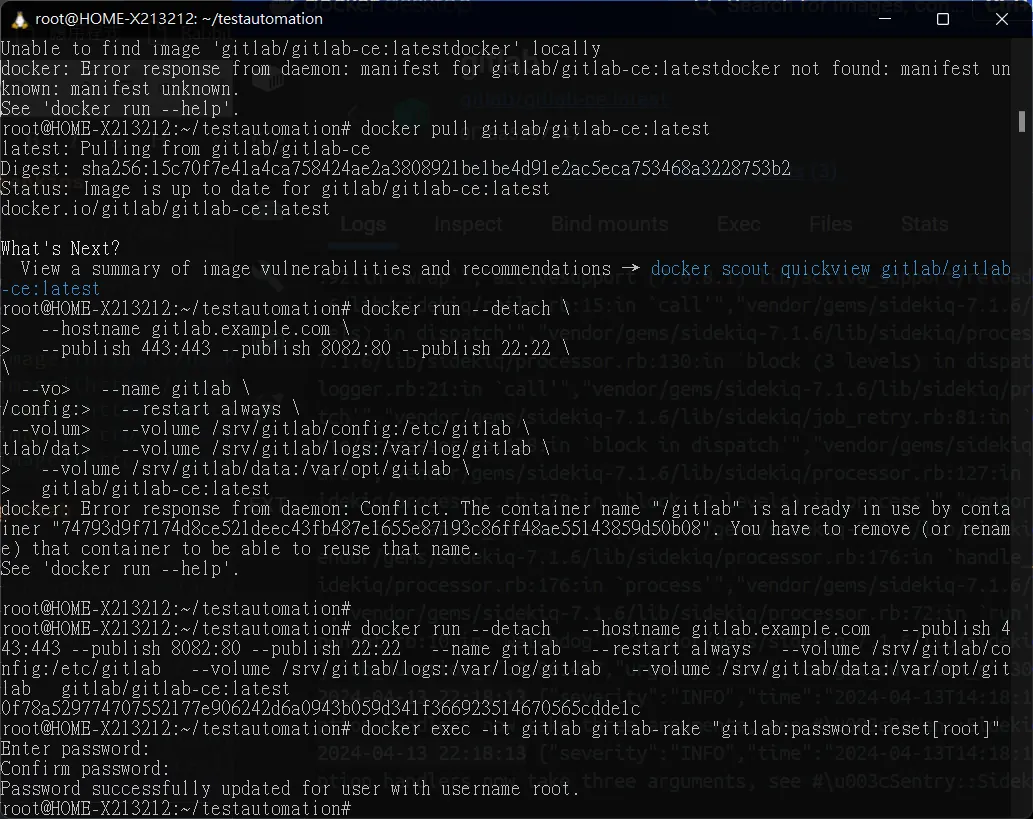
docker run --detach \
  --hostname gitlab.example.com \
  --publish 443:443 --publish 8088:80 --publish 22:22 \
  --name gitlab \
  --restart always \
  --volume ./gitlab/config:/etc/gitlab \
  --volume ./gitlab/logs:/var/log/gitlab \
  --volume ./gitlab/data:/var/opt/gitlab \
  gitlab/gitlab-ce:latest
docker exec -it gitlab gitlab-rake "gitlab:password:reset[root]"
正常上面這些流程在不同電腦上可能可以正常work 但是實驗用途我ㄧ台電腦一個wsl怎麼實驗呢
docker-compose.yml
version: '3.8'
services:
  gitlab:
    image: gitlab/gitlab-ce:latest
    hostname: gitlab.example.com
    environment:
      GITLAB_OMNIBUS_CONFIG: |
        external_url 'http://gitlab.example.com'
    ports:
      - "80:80"
      - "443:443"
      - "22:22"
    volumes:
      - gitlab-config:/etc/gitlab
      - gitlab-logs:/var/log/gitlab
      - gitlab-data:/var/opt/gitlab

  jenkins:
    image: jenkins/jenkins:lts
    hostname: jenkins.example.com
    environment:
      JAVA_OPTS: "-Djenkins.install.runSetupWizard=false"
    ports:
      - "8080:8080"
      - "50000:50000"
    volumes:
      - jenkins-data:/var/jenkins_home

volumes:
  gitlab-config:
  gitlab-logs:
  gitlab-data:
  jenkins-data:

networks:
  default:
     name: my-network
     external: true
啟動順便按照剛剛的方式啟動.
docker network create my-network
docker-compose up -d
docker exec -it gitlab gitlab-rake "gitlab:password:reset[root]"
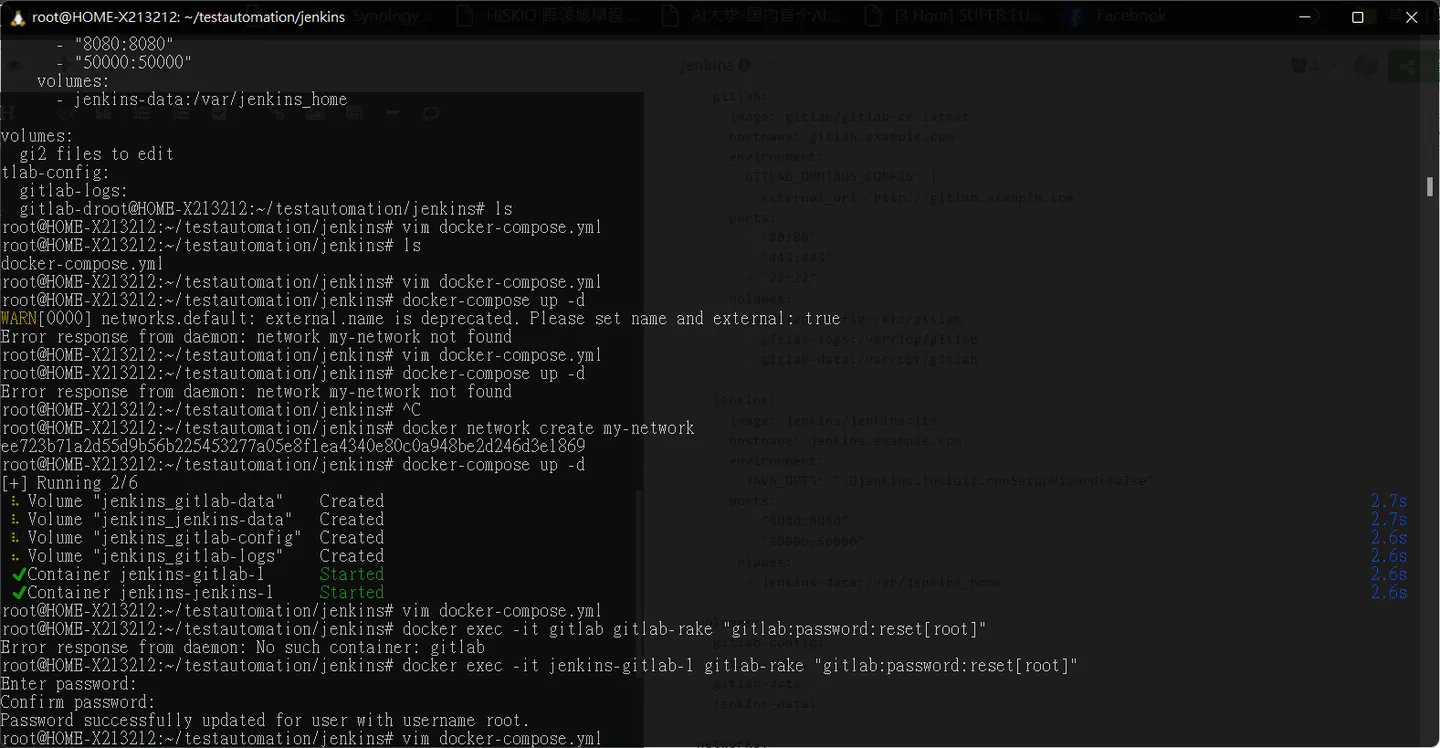
環境都架設好了後,先來熟悉一下
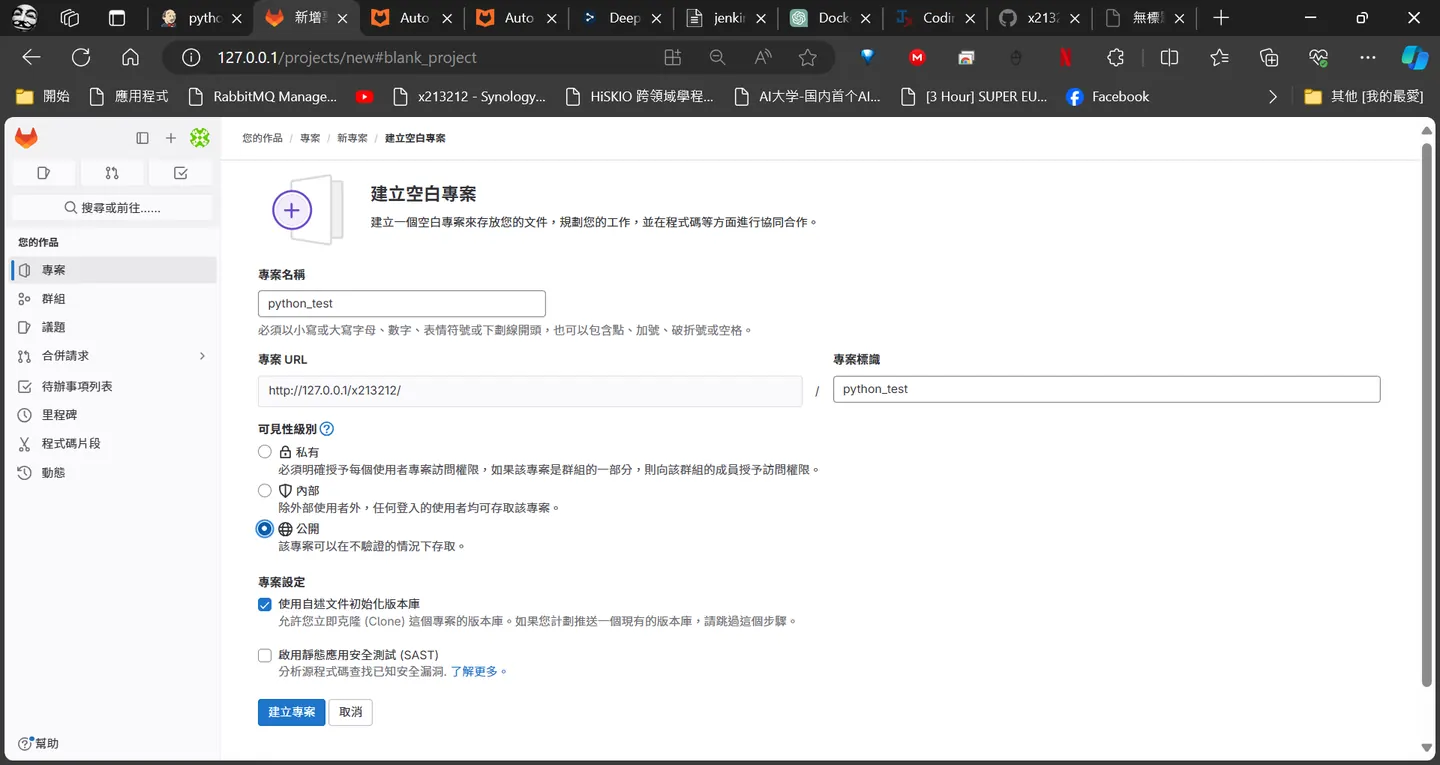
Create gitlab repo
創建一個專案並且設定公開
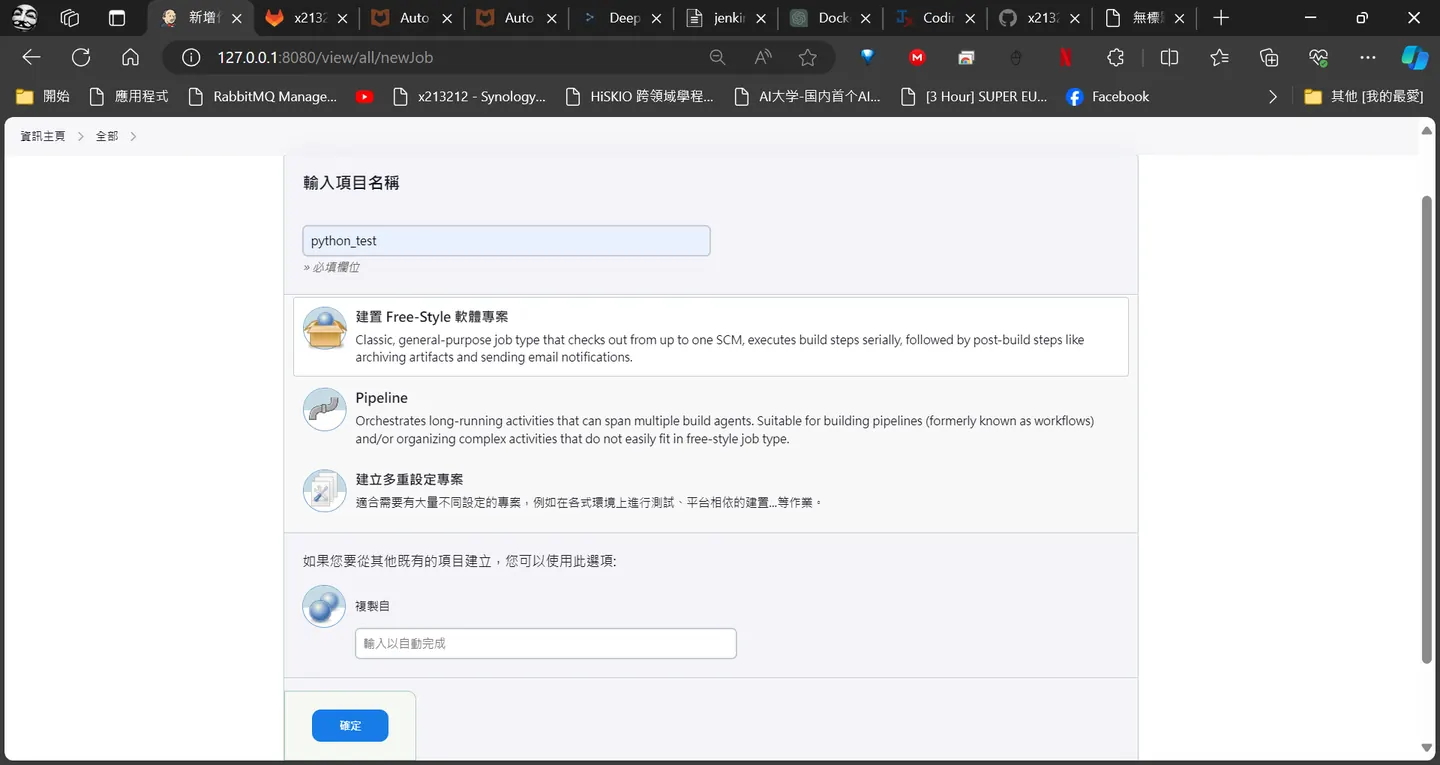
Jenkins create job
這邊設定free style
 點組態->原始碼管理->git
http://gitlab.example.com/x213212/python_test.git
這邊有透過docker file共用同個網段所以可以直接連到git
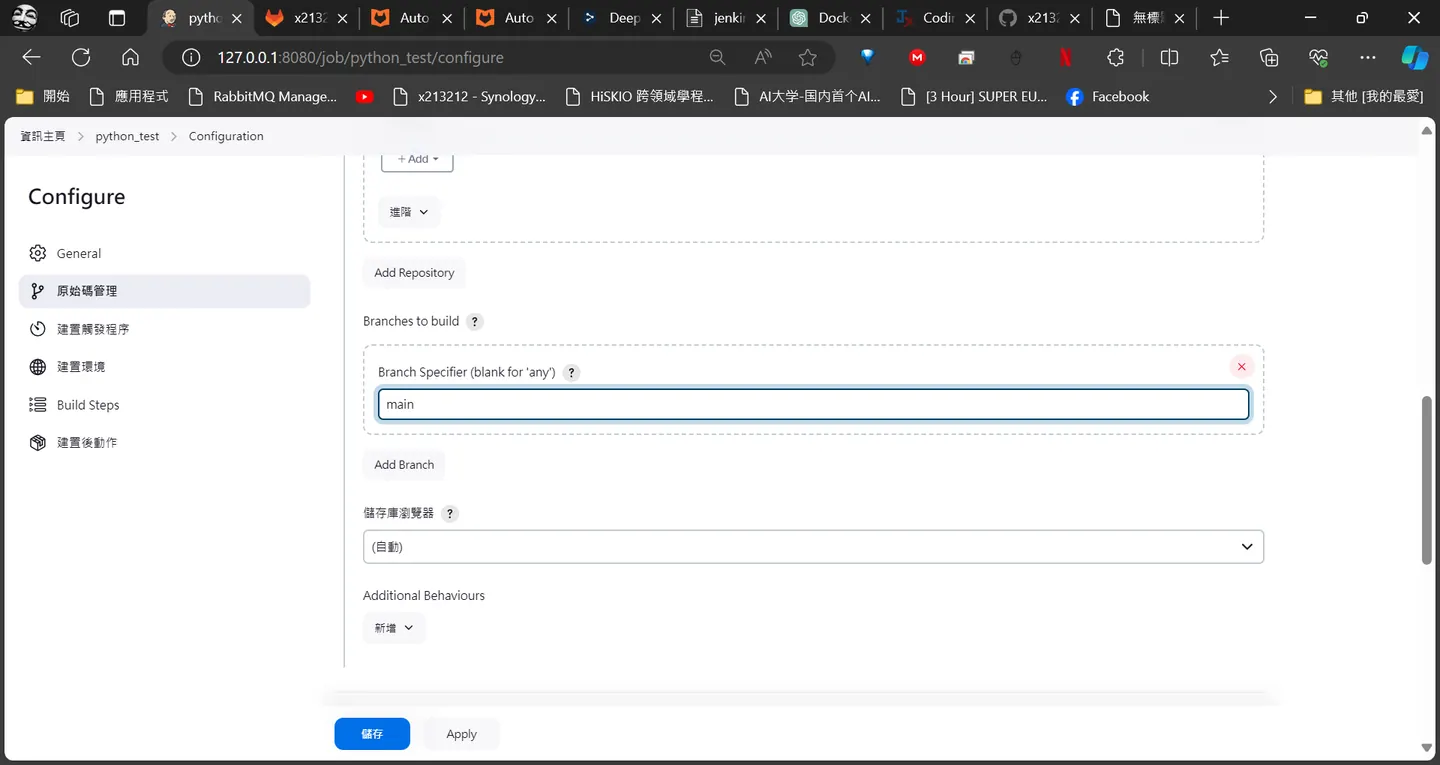
再來是Branches to build
這邊會決定哪個branch 會觸發這個 Jenkins任務
在gitlab 預設創一個git repo 主要branch 應該是 main
點組態->原始碼管理->git
http://gitlab.example.com/x213212/python_test.git
這邊有透過docker file共用同個網段所以可以直接連到git
再來是Branches to build
這邊會決定哪個branch 會觸發這個 Jenkins任務
在gitlab 預設創一個git repo 主要branch 應該是 main
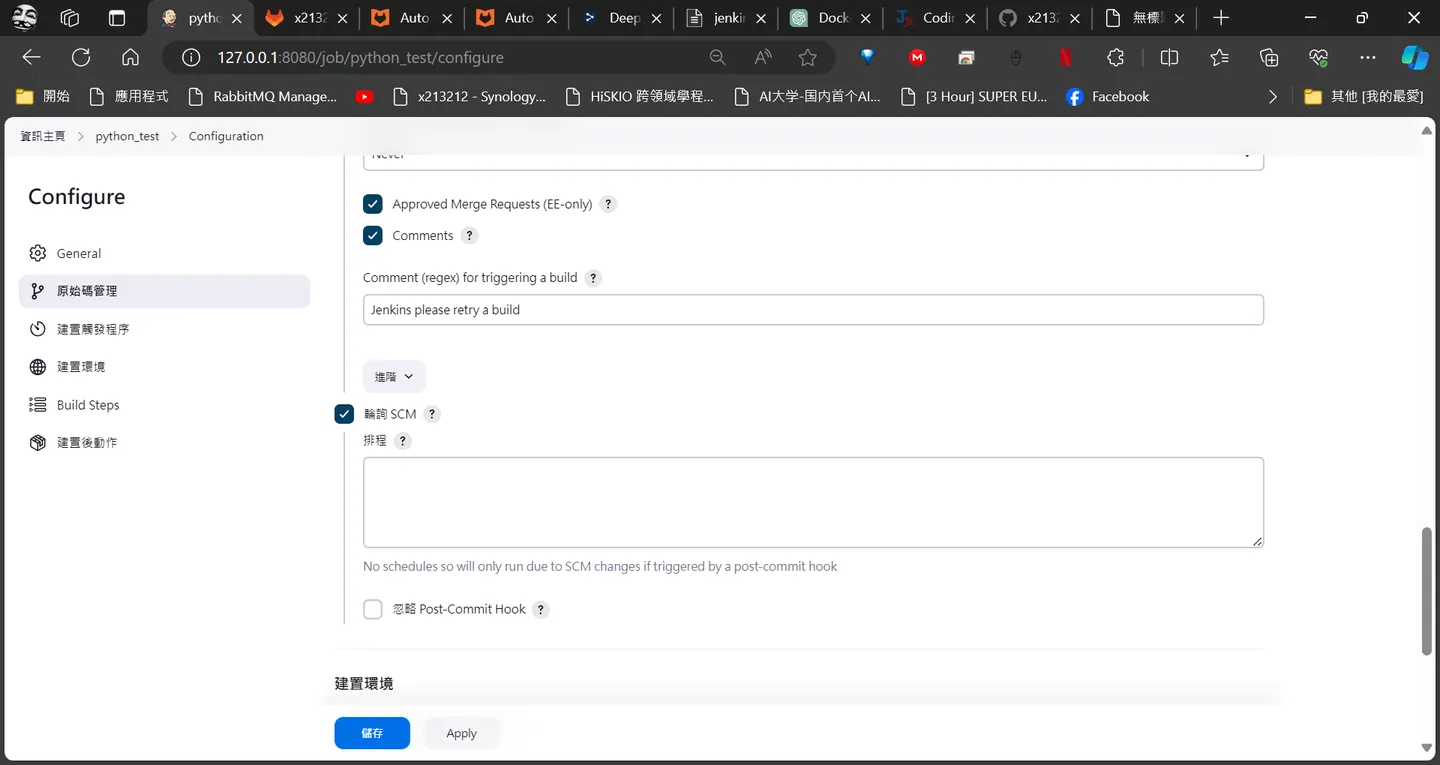
 再來是我們要透過gitlab會透過 webhook 觸發 jenkens
Build when a change is pushed to GitLab. GitLab webhook URL: http://127.0.0.1:8080/project/python_test
這邊勾選一個輪巡
輪詢 SCM
再來是我們要透過gitlab會透過 webhook 觸發 jenkens
Build when a change is pushed to GitLab. GitLab webhook URL: http://127.0.0.1:8080/project/python_test
這邊勾選一個輪巡
輪詢 SCM
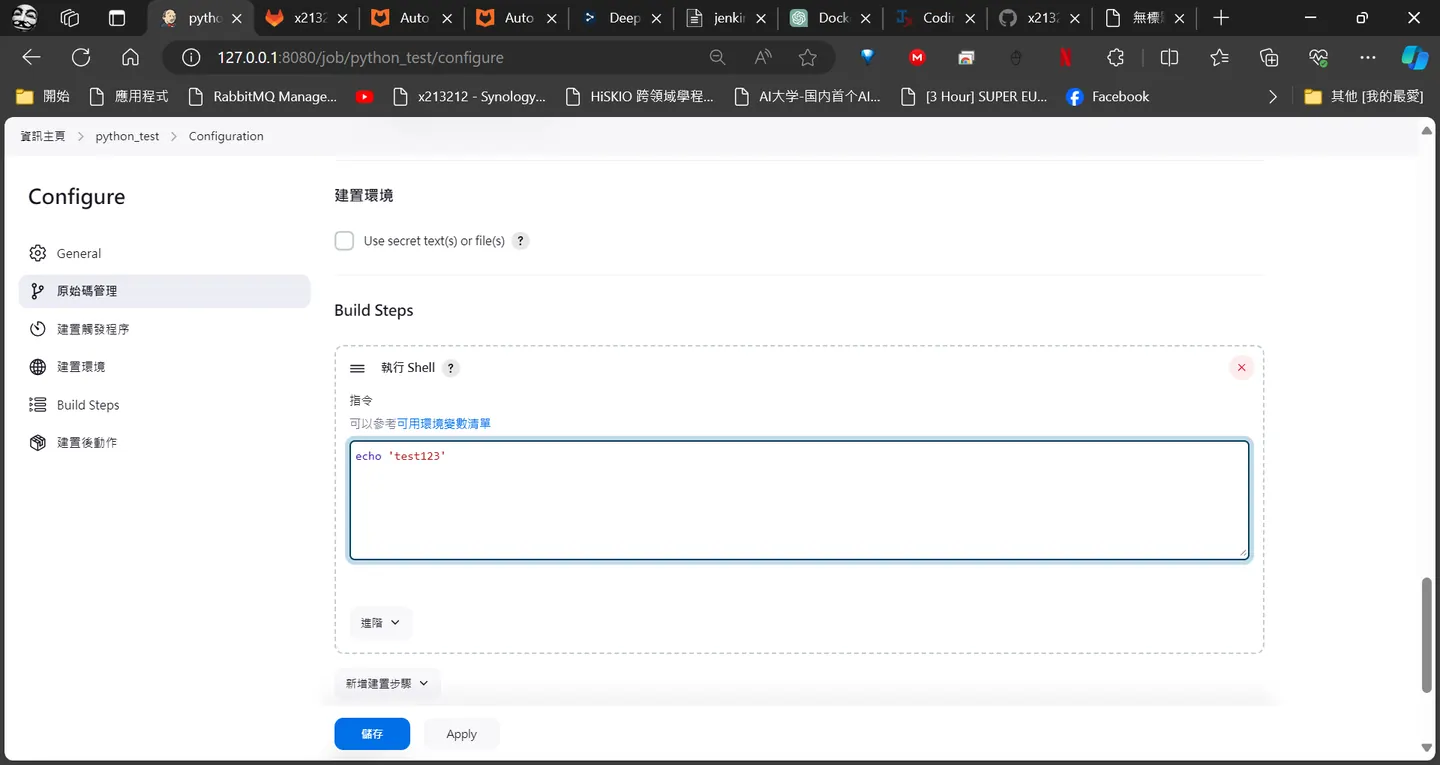
 在一個專案中push成功可能後續要很多build 的步驟,這邊先隨便填一個
echo '123'
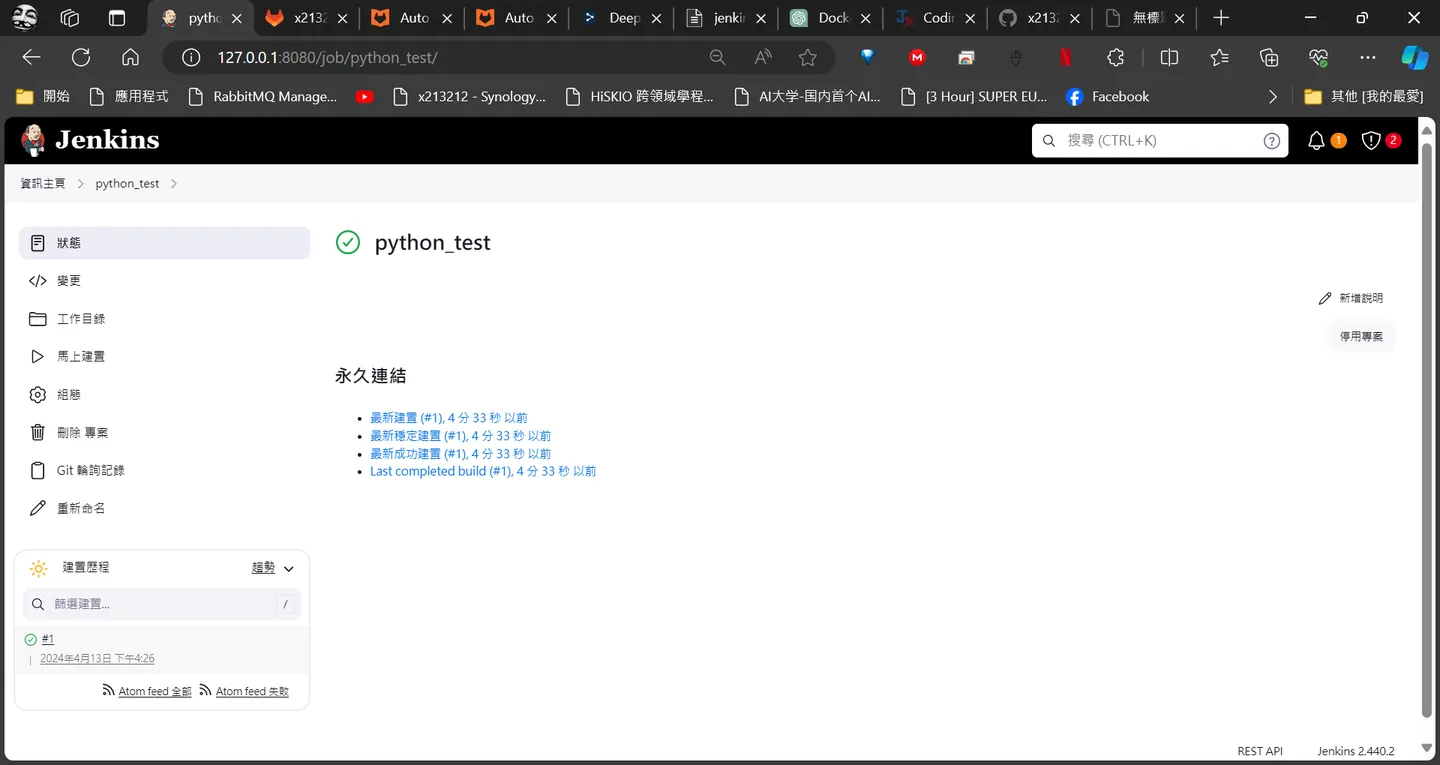
 ok創建好了
setting gitlab webhook
然後我們在設定 webhook 這邊填Jenkins 的 webhook api
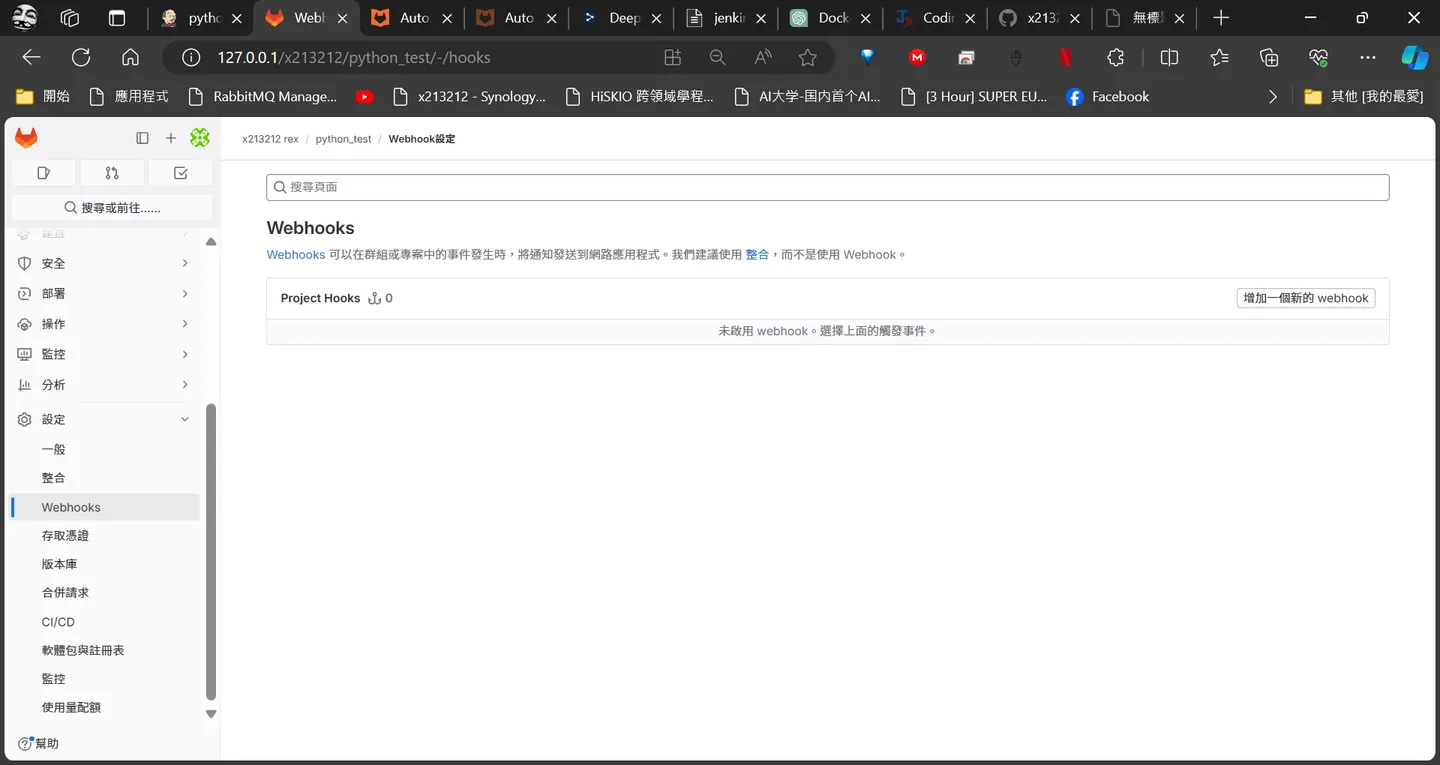 這邊要注意 我用ngrok進行代理 ,不然gitlab 直接填 jenkins.example.com會無法導向
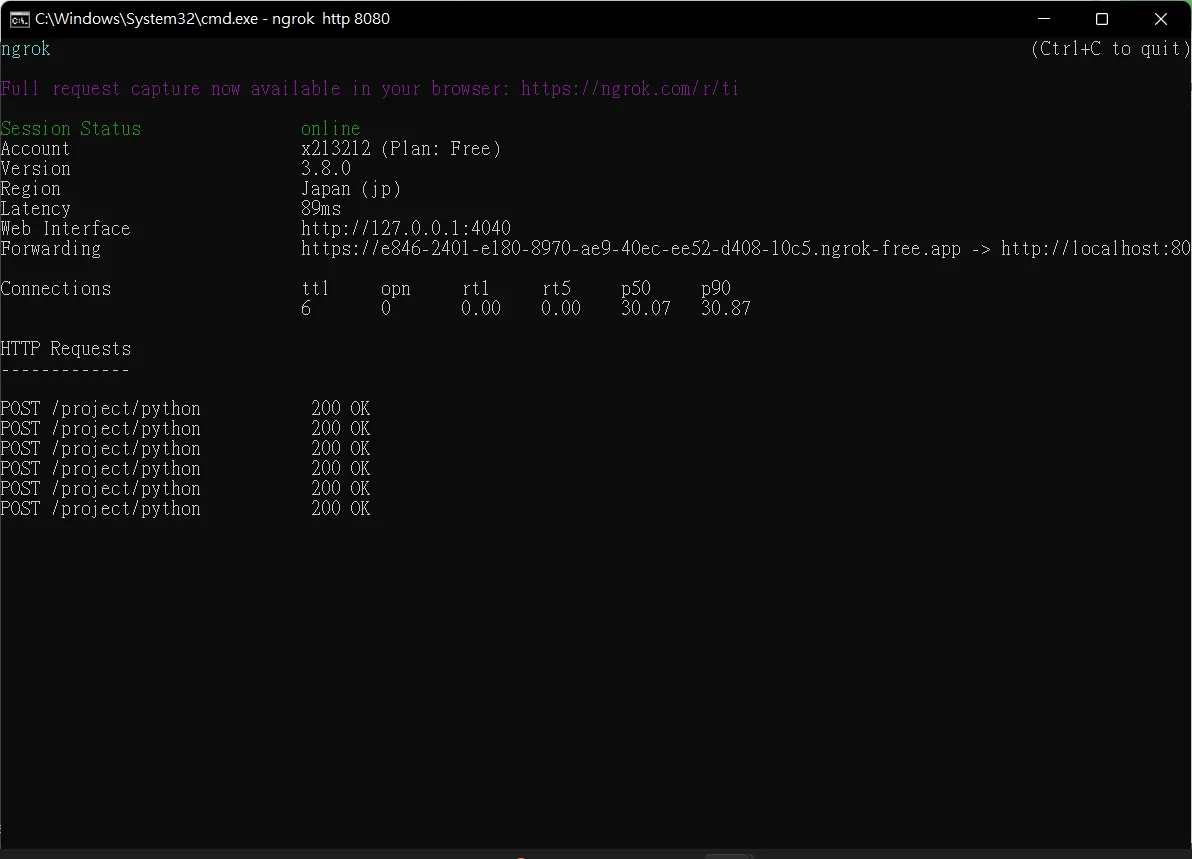 還記得剛剛的 Jenkins的 webhook 的網址嗎把它換成
#http://127.0.0.1:8080/project/python_test

https://e846-2401-e180-8970-ae9-40ec-ee52-d408-10c5.ngrok-free.app/project/python_test
記得設置
觸發器
推送事件
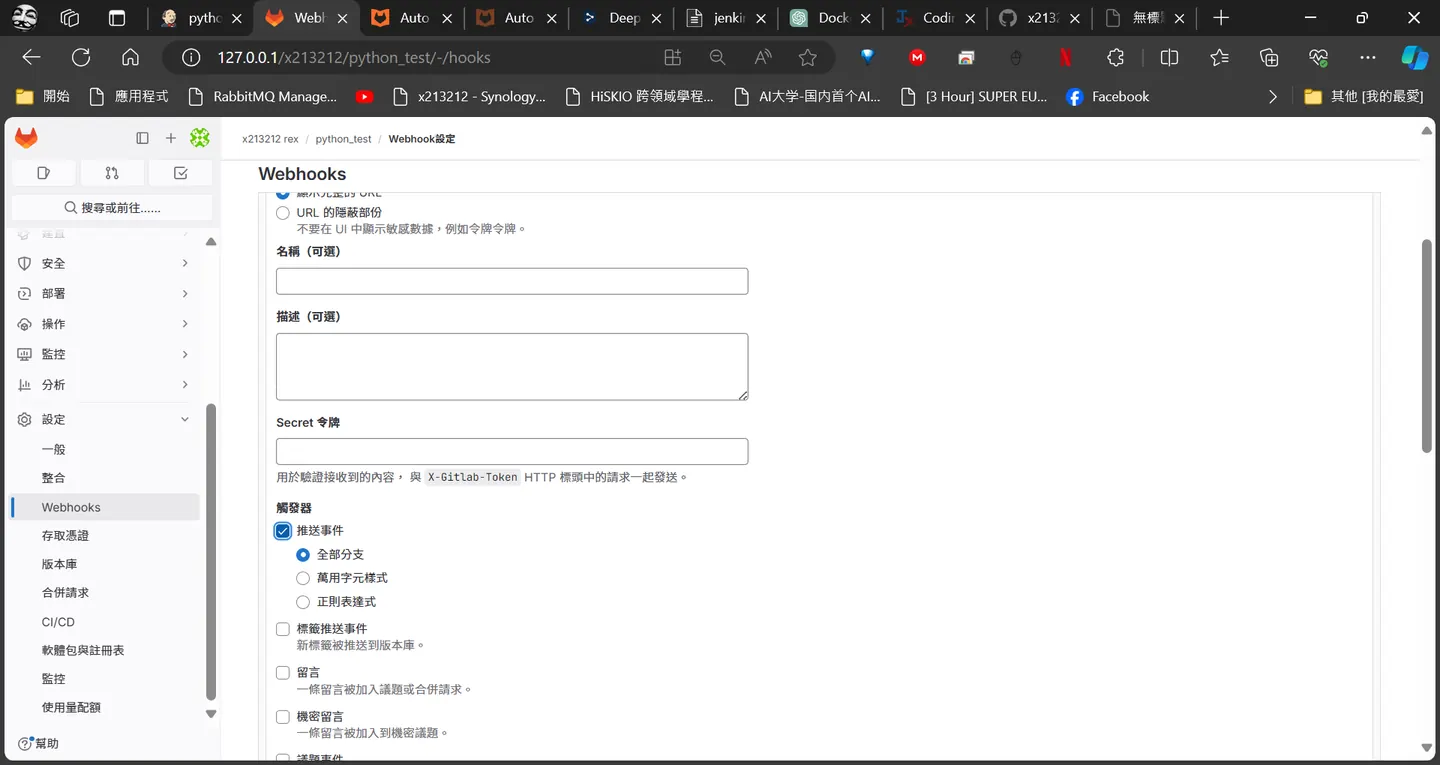
換好後測試一下是否觸發任務
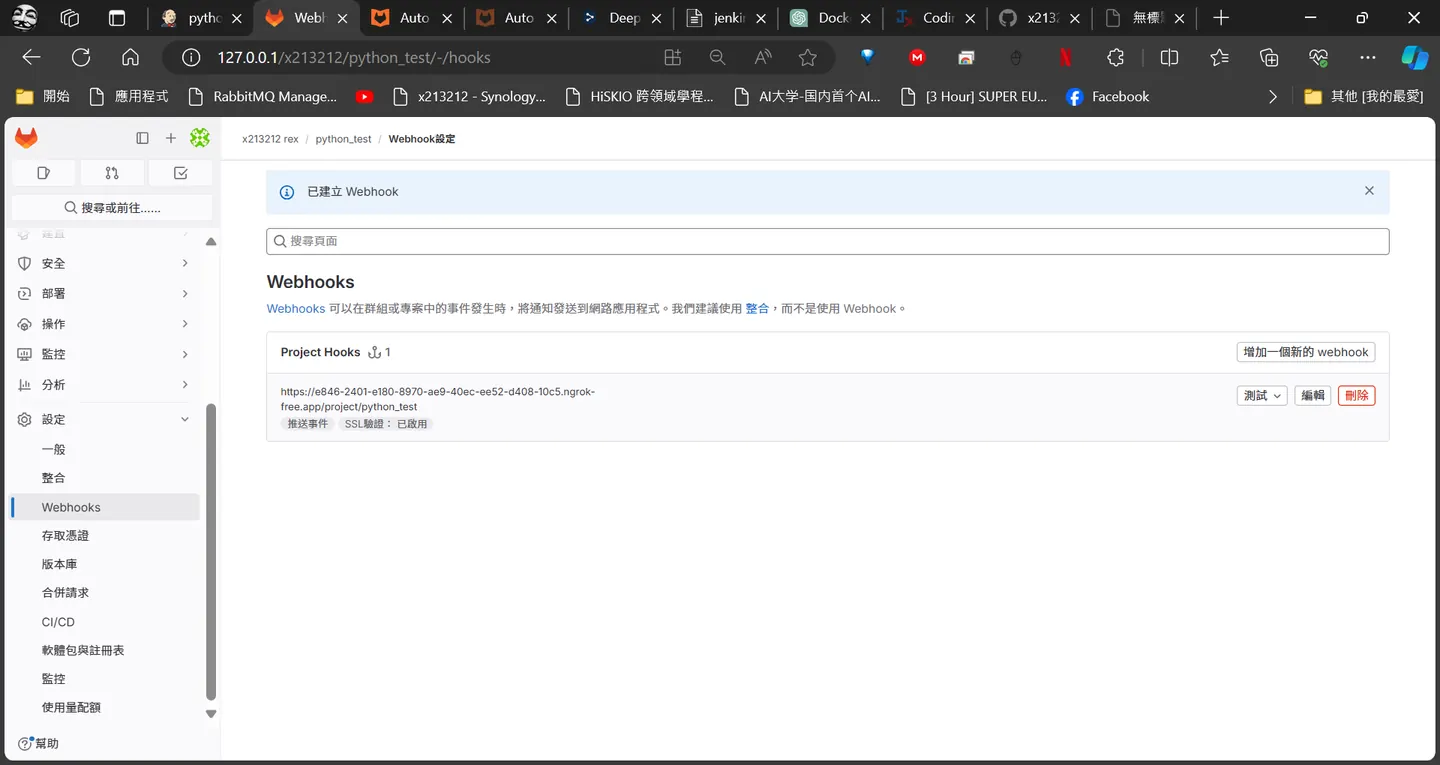
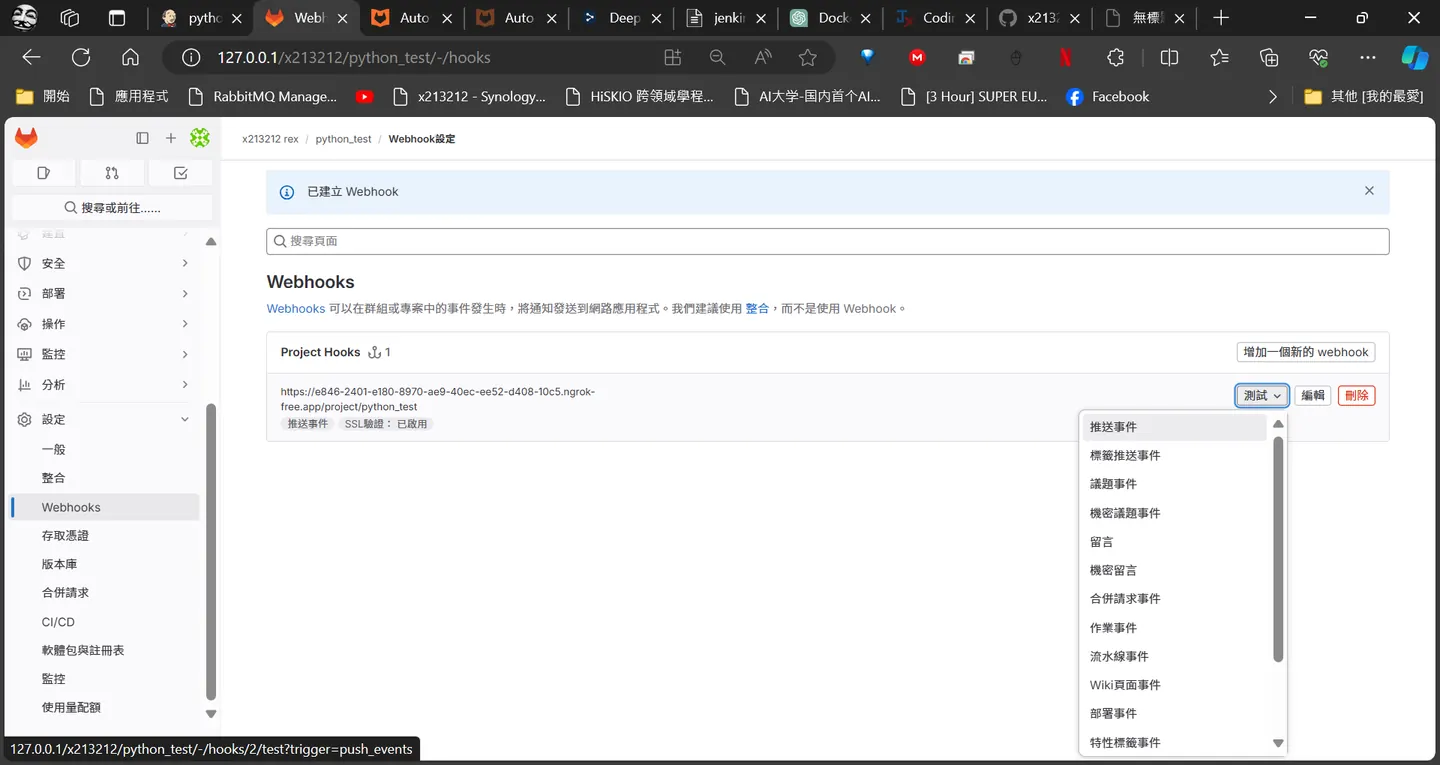
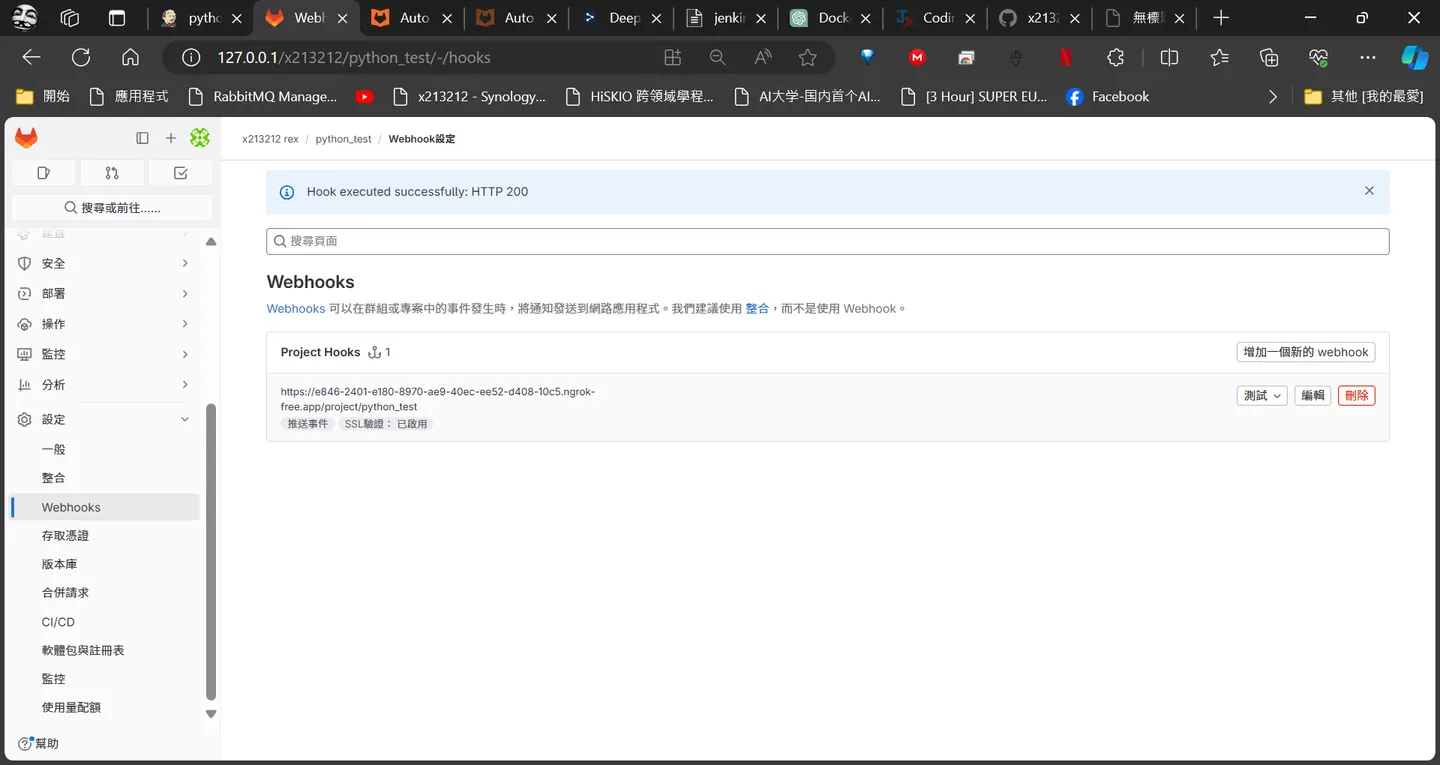 看是否觸發成功
Hook executed successfully: HTTP 200
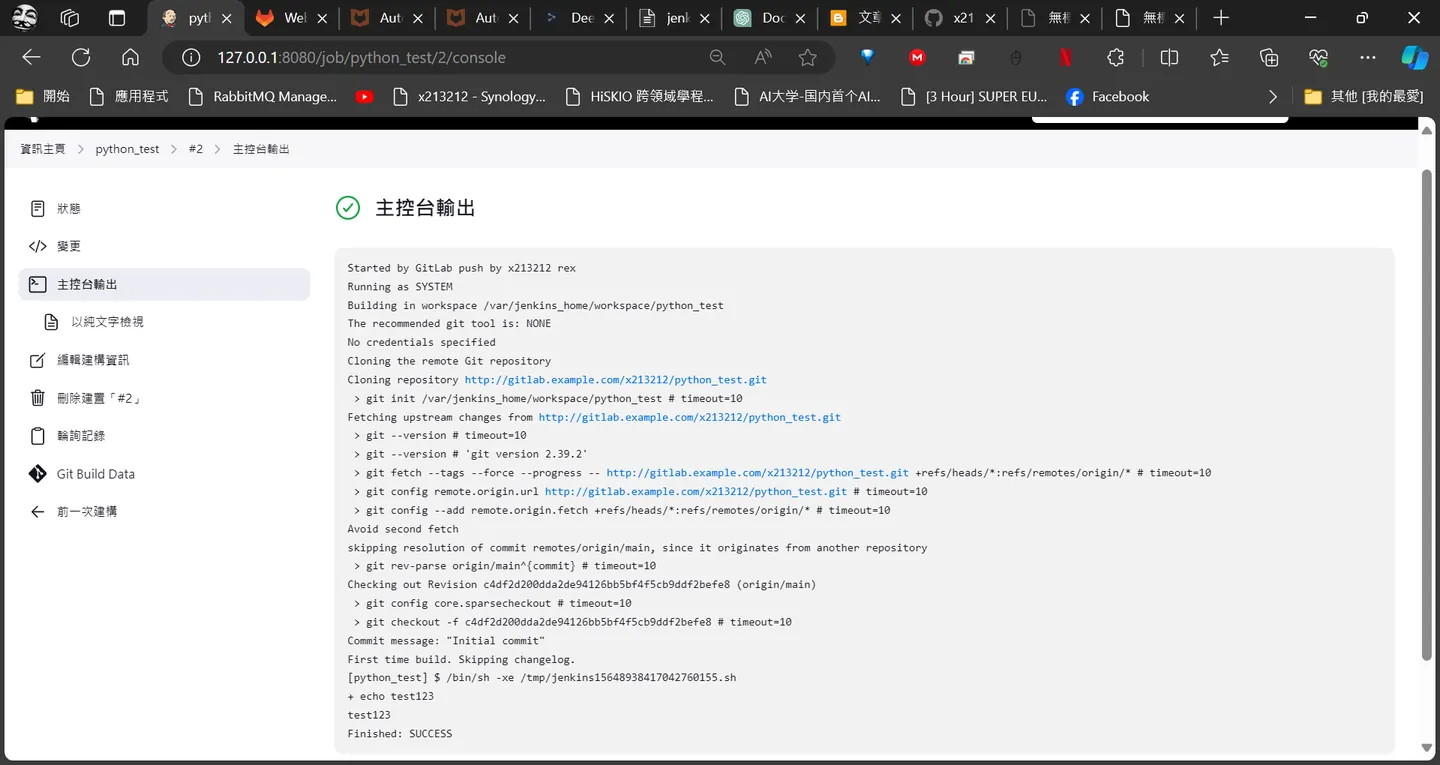
可以看到Jenkins已經觸發任務了
看是否觸發成功
Hook executed successfully: HTTP 200
可以看到Jenkins已經觸發任務了
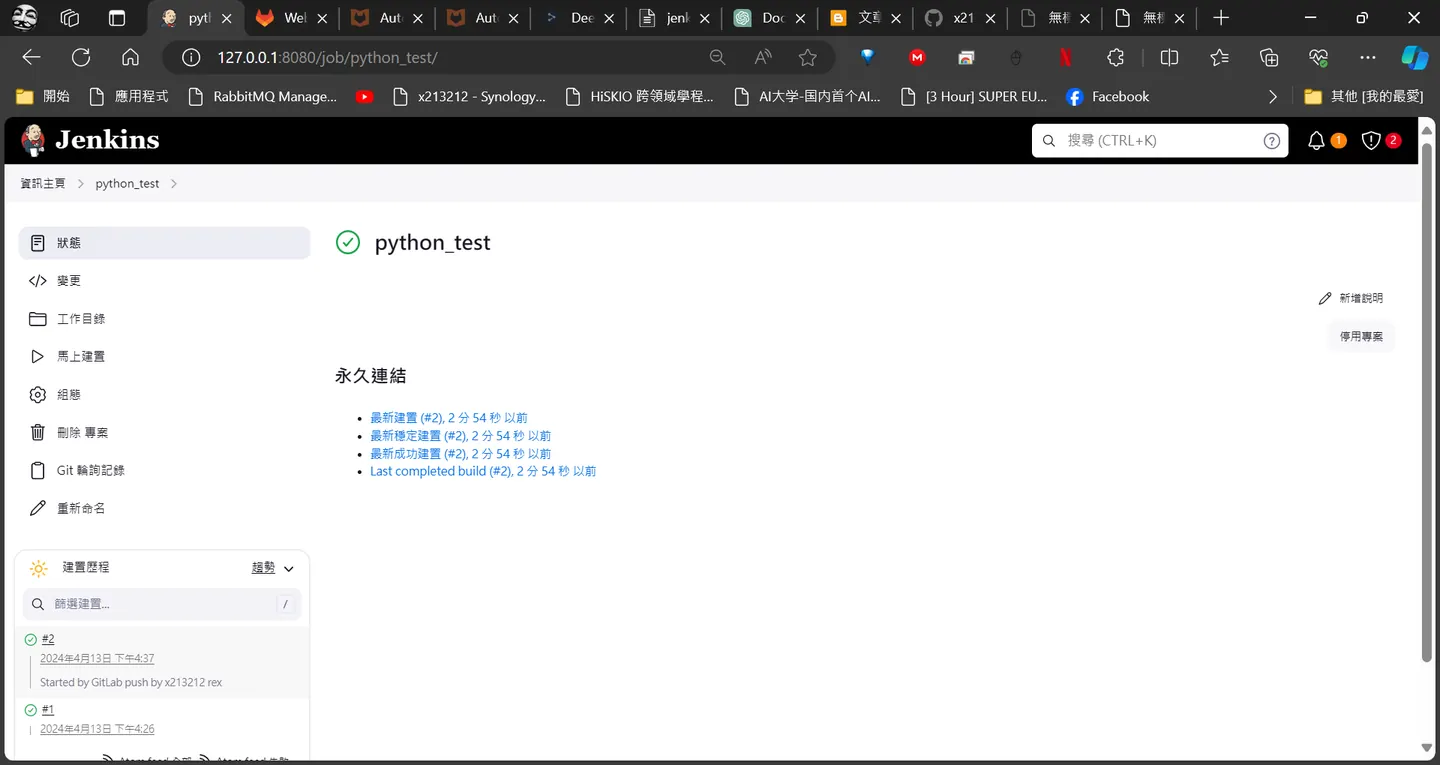
這邊也有觸發 build step
Comments