

使用 CircleCI 部署 Node.jS App 到 GCP App Engine (一)
CI ( Continuous Integration ) 中文為「持續性整合」,目的是讓專案能夠在每一次的變動中都能通過一些檢驗來確保專案品質。CD ( Continuous Deployment ) 中文則為「自動化佈署」,讓專案能夠自動在每次變動後能以最新版本呈現。
首先要改成 react 或者 vue 的話 先要實作一下簡單的 cicd https://medium.com/@zoratai/ci-cd-%E5%BE%9E%E9%9B%B6%E9%96%8B%E5%A7%8B-%E4%BD%BF%E7%94%A8-circleci-%E9%83%A8%E7%BD%B2-node-js-app-%E5%88%B0-gcp-app-engine-856244ba86d7
文章是 去年的 再來順一下
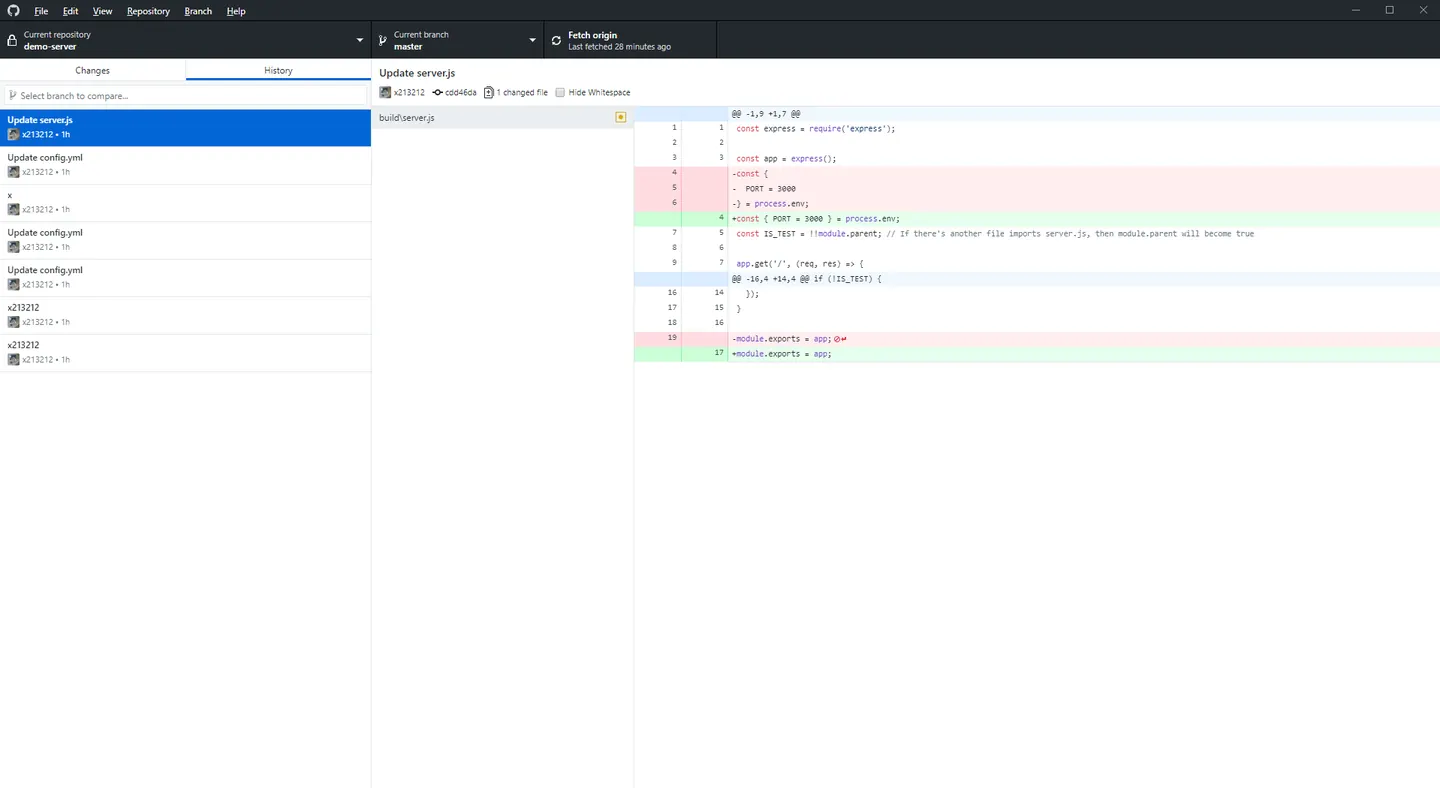
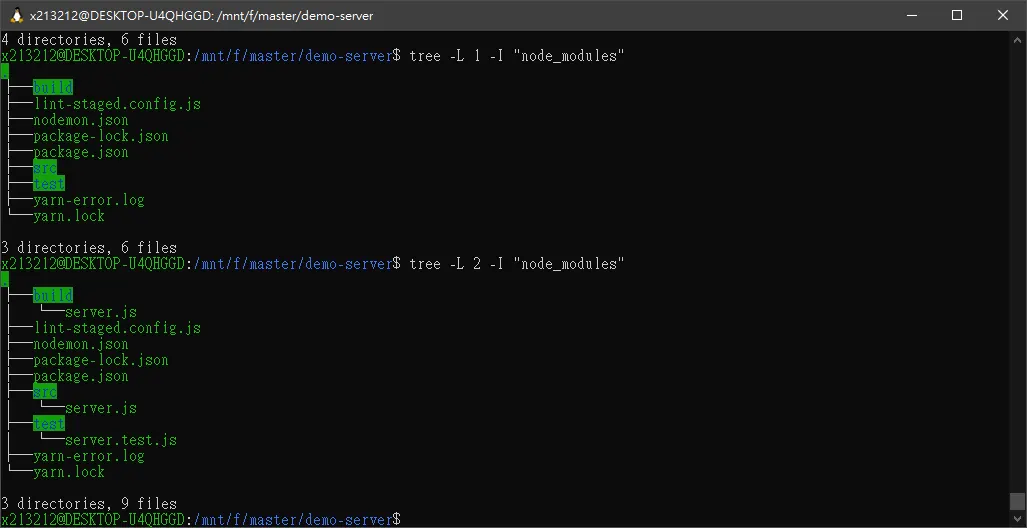
最終目錄結構
tree -L 2 -I "node_modules"
建立資料夾
mkdir demo-server cd demo-server
初始化專案
yarn init
加入版控
git init
忽略 node_modules
.gitignore
**/node_modules/
安裝 express 及 babel
express 是一個 Node.js 的後端框架,這次 demo 會用來處理 server。 由於 Node.js 處理檔案引入和匯出方法為 require 及 module.export, 而 es6 出現了 import 及 export,如要使用就要使用 babel 來 transpile。
yarn add express yarn add @babel/core --dev yarn add @babel/cli --dev yarn add @babel/preset-env --dev yarn add @babel/node --dev
add src/server.js
const express = require('express');

const app = express();
const { PORT = 3000 } = process.env;

const IS_TEST = !!module.parent; // If there's another file imports server.js, then module.parent will become true

app.get('/', (req, res) => {
  res.status(200).send('Hello!CI/CD!2');
});

if (!IS_TEST) {
  app.listen(PORT, () => {
    console.log('Server is running on PORT:', PORT);
  });
}

module.exports = app;
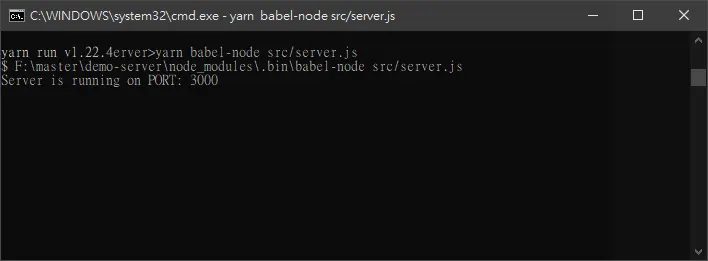
本機執行
yarn babel-node src/server.js
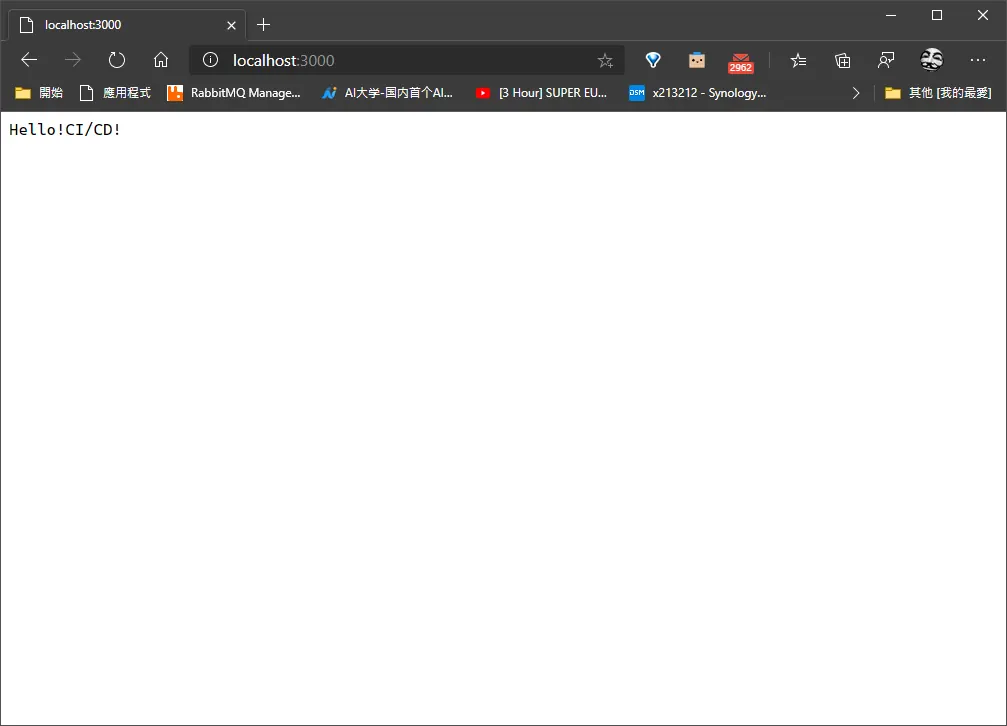
使用 nodemon 快速開發
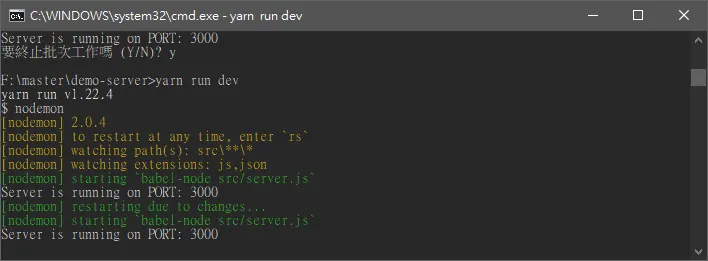
修改原始碼自動重新整理
yarn add nodemon --dev
新增nodemon.json
{
  "//_comment": "monitor src folder",
  "watch": ["src"],
  "//_comment": "watch .js and .json extensions",
  "ext": "js json",
  "exec": "babel-node src/server.js"
}
package.json 插入
....
"scripts": {
   "dev": "nodemon"
}
自動重新整理測試
yarn run dev
測試框架
為了確保專案的品質,test 是必不可少的,這次要使用的測試框架是 jest,因為要測試 http request,使用的是 supertest 這個框架。
安裝 jest 及 supertest
yarn add jest supertest --dev
package.json 插入
....
"scripts": {
   "test": "jest"
}
add test/server.test.js
新增測試例子
const supertest = require('supertest');
const app = require('../src/server');

const PORT = 3001;
let listener;
let request;

beforeAll(() => {
  listener = app.listen(PORT);
  request = supertest(listener);
});
afterAll(async () => {
  await listener.close();
});

test('Server Health Check', async () => {
  const res = await request.get('/');
  expect(res.status).toEqual(200);
  expect(res.text).toBe('Hello!CI/CD!2');
});

test('Server Health Check2', async () => {
  const res = await request.get('/');
  expect(res.status).toEqual(200);
  expect(res.text).toBe('Hello!CI/CD!2');
});
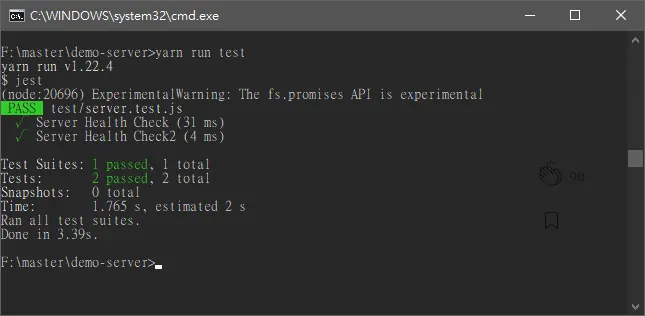
測試框架啟用
yarn run test
安裝 eslint 及 prettier
eslint 是 javascript linter 之一,可以用來預防語法錯誤,其實最大的好處是可以維持團隊的 coding style(ex. airbnb),但因為這次是個人專案這個優點就沒有被顯現出來了 XD prettier 是要維持程式碼的整齊性,可以設定在存檔時程式碼格式化,統整團隊的規範。例如:要加雙引號還是單引號。 值得注意的是在同時引用 prettier 及 eslint 時,兩者會一些功能相衝突,而可以使用 eslint-plugin-prettier 解決這個問題。 設定 eslint + prettier + babel 開始著手寫0設定檔 .eslint.js,這次 babel parser 會用到 babel-eslint,而在 extends 會用到 eslint-config-airbnb-base/ eslint-plugin-jest / eslint-plugin-prettier, eslint-plugin-import 是用來 lint es6 的 import 及 export。
我是執行下列 shell 才裝完
yarn add eslint-plugin-prettier eslint prettier babel-eslint eslint-config-airbnb-base eslint-plugin-jest eslint-plugin-prettier eslint-plugin-import --dev yarn add format npm install --save-dev eslint-config-prettier
add .eslint.js
module.exports = {
  parser: 'babel-eslint',
  parserOptions: {
    ecmaVersion: 2020,
    sourceType: 'module',
  },
  env: {
    node: true,
    'jest/globals': true,
  },
  extends: [
    'airbnb-base',
    'plugin:jest/recommended',
    'plugin:prettier/recommended',
  ],
  plugins: ['jest', 'prettier'],
  rules: {
    'import/prefer-default-export': 'off',
    'class-methods-use-this': 'warn',
    'consistent-return': 'warn',
    'no-unused-vars': 'warn',
    'no-console': 'off',
    'no-continue': 'off',
    'no-bitwise': 'off',
    'no-underscore-dangle': 'off',
    'no-param-reassign': ['error', { props: false }],
    'no-restricted-syntax': [
      'error',
      'ForInStatement',
      'LabeledStatement',
      'WithStatement',
    ],
  },
};
add .prettierrc.json
{
  "semi": true,
  "trailingComma": "all",
  "singleQuote": true,
  "arrowParens": "always"
}
package.json 插入
....
"scripts": {
    "lint": "eslint . --fix"
 }
避免糟糕的 commit
忘記先跑 eslint 及 test 就 commit 情形難免會有,這時候在 commit 之前先做檢查就變得非常重要。這專案使用的是 git hooks husky 及 lint-staged。 安裝 husky 及 lint-staged
yarn add husky lint-staged --dev
add .huskyrc.js
使用 husky 跑 eslint 及 test。
module.exports = {
  hooks: {
    'pre-commit': 'lint-staged && yarn run test',
  },
};
add lint-staged.config.js
在 commit 之前會做到 eslint 及 git add。
module.exports = {
  '*.js': ['eslint . --fix', 'git add'],
};
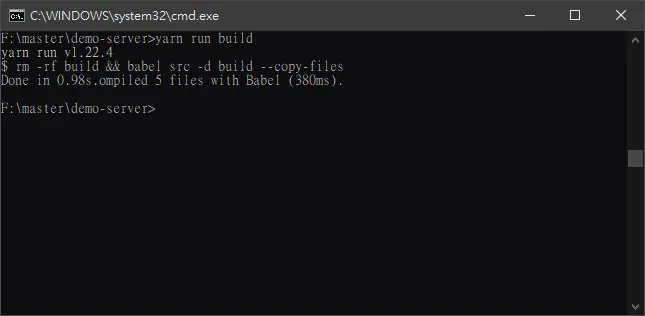
app build
....
"scripts":  {
    "build": "rm -rf build && babel src -d build --copy-files"
}
run build
yarn run build
add .eslintignore
忽略 eslint
/build/**
CircleCI
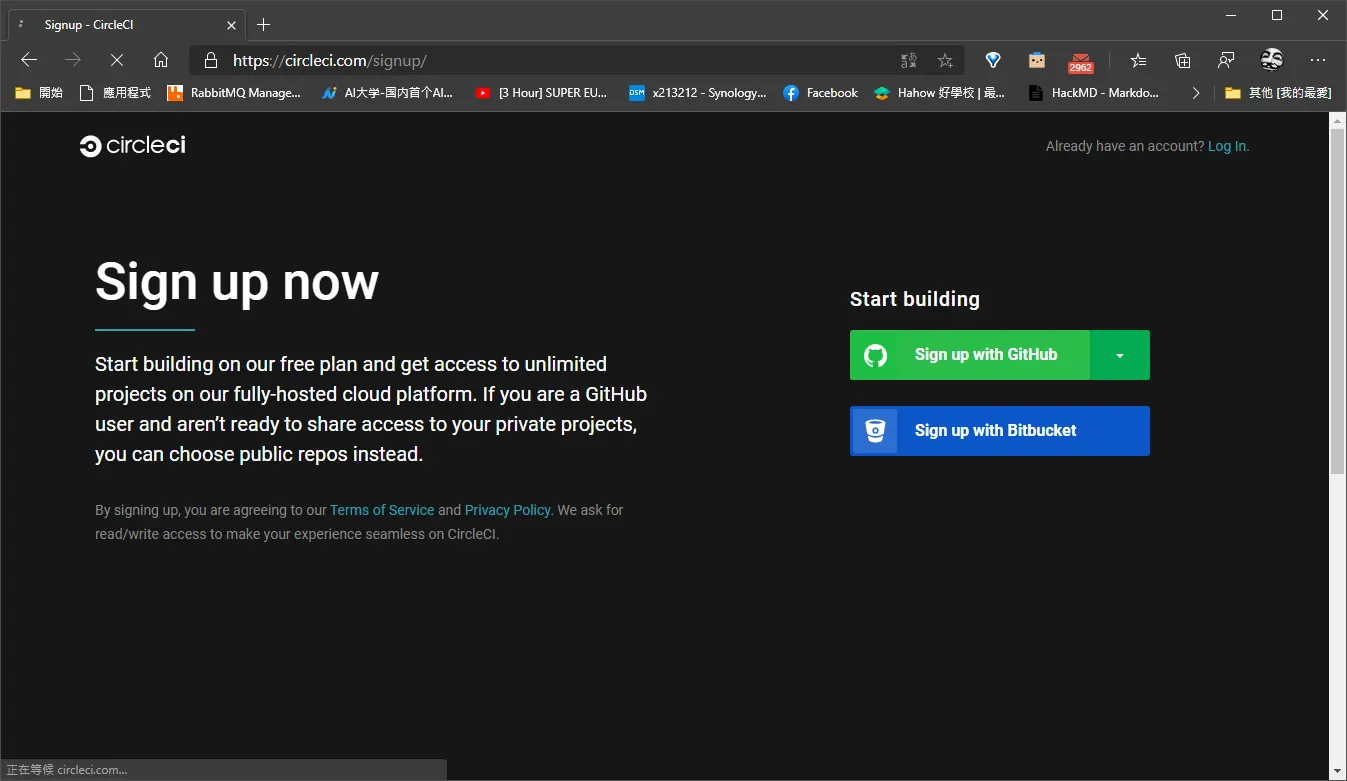
因為是要透過 GitHub 進行 CI/CD,所以是以 GitHub 帳號登入 CircleCI。首先會先進到 CircleCI 介面,選擇你要 CI/CD 的專案。 https://circleci.com/product/
 登入
登入
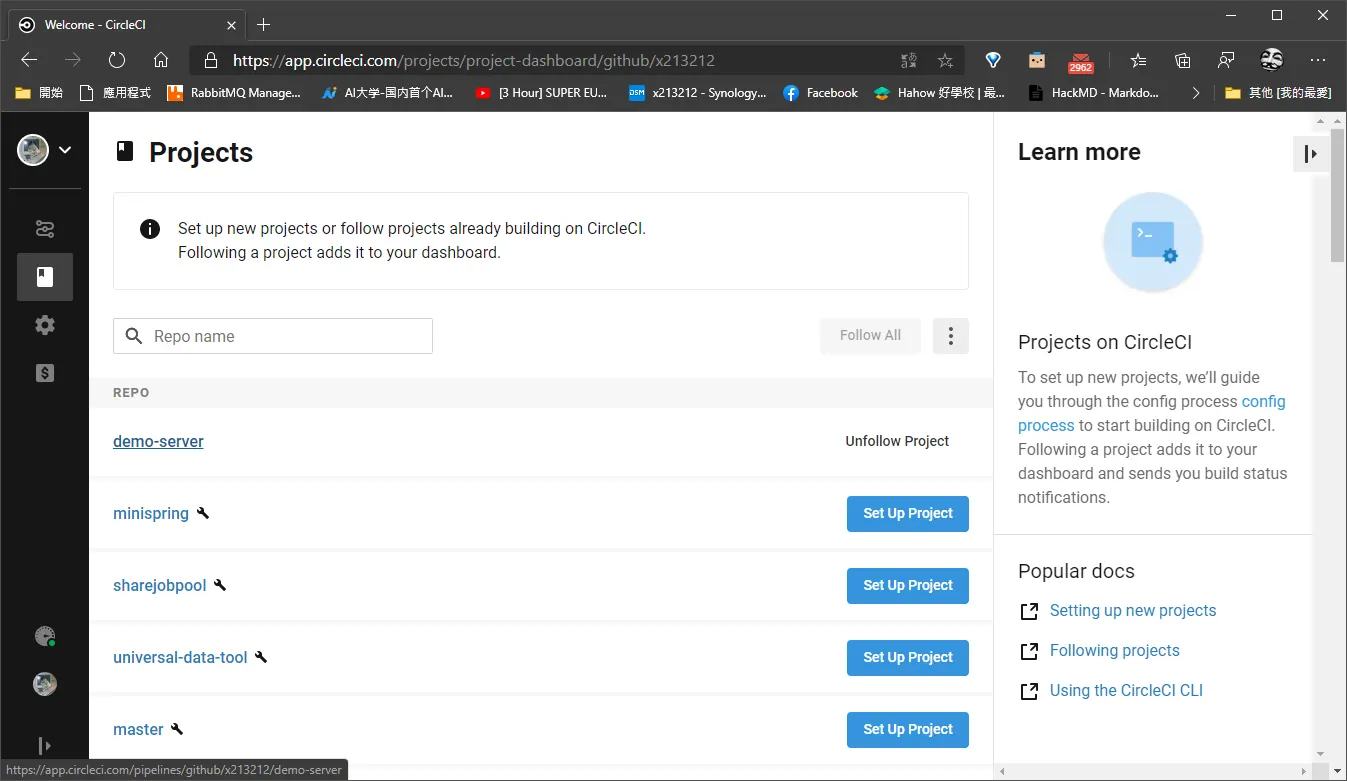
選取我們的專案 demo-server
add .circleci
mkdir .circleci
add config.yml
version: 2.1 # use CircleCI 2.1
jobs: # a collection of steps
  build: # runs not using Workflows must have a `build` job as entry point
    docker: # run the steps with Docker
      - image: circleci/node:latest # with this image as the primary container; this is where all `steps` will run
    steps: # a collection of executable commands
      - checkout # special step to check out source code to working directory
      - run:
          name: Check Node.js version
          command: node -v
      - run:
          name: Install yarn
          command: 'curl -o- -L https://yarnpkg.com/install.sh | bash'
      - restore_cache: # special step to restore the dependency cache
          name: Restore dependencies from cache
          key: dependency-cache-{{ checksum "yarn.lock" }}
      - run:
          name: Install dependencies if needed
          command: |
            if [ ! -d node_modules ]; then
              yarn install --frozen-lockfile
            fi
      - save_cache: # special step to save the dependency cache in case there's something new in yarn.lock
          name: Cache dependencies
          key: dependency-cache-{{ checksum "yarn.lock" }}
          paths:
            - ./node_modules
      - run: # run lint
          name: Lint
          command: yarn eslint . --quiet
      - run: # run tests
          name: Test
          command: yarn jest --ci --maxWorkers=2
      - run: #run build
          name: Build
          command: npm run build
      - persist_to_workspace: # Special step used to persist a temporary file to be used by another job in the workflow.# We will run deploy later,it will be put in another job.
          root: .
          paths:
            - build
            - package.json
            - yarn.lock
            - app.yaml
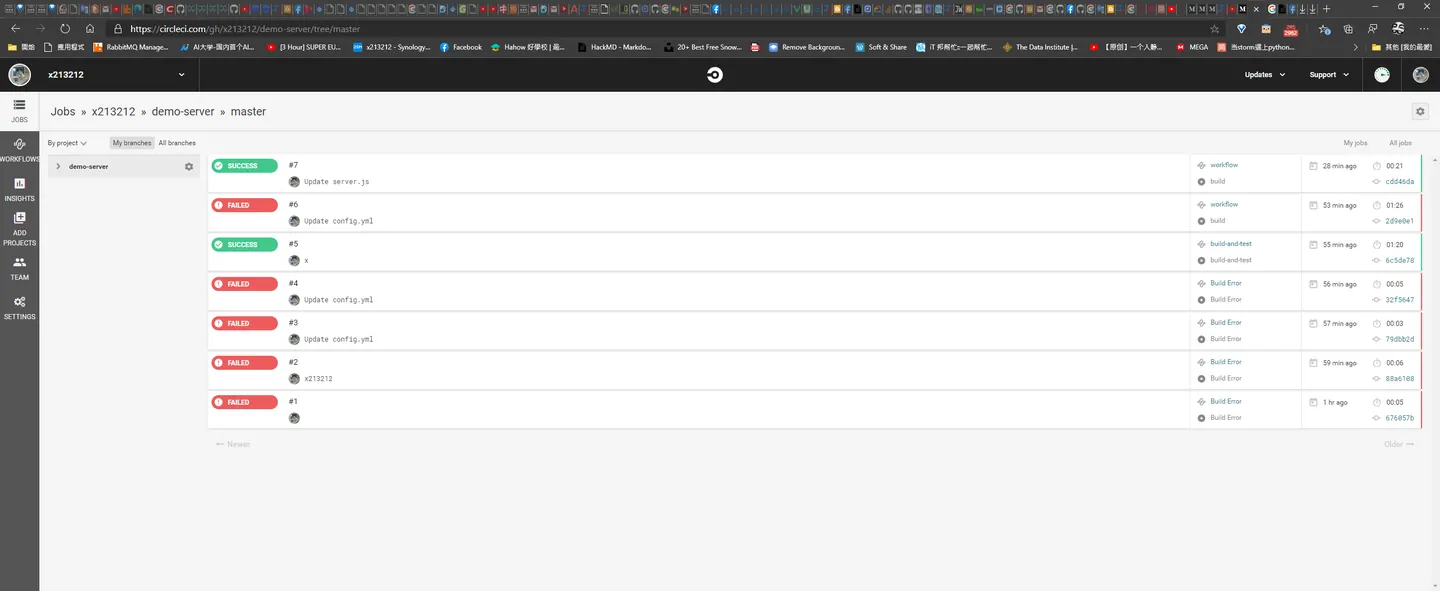
事先在目錄建置好 config.yml 然後 commit
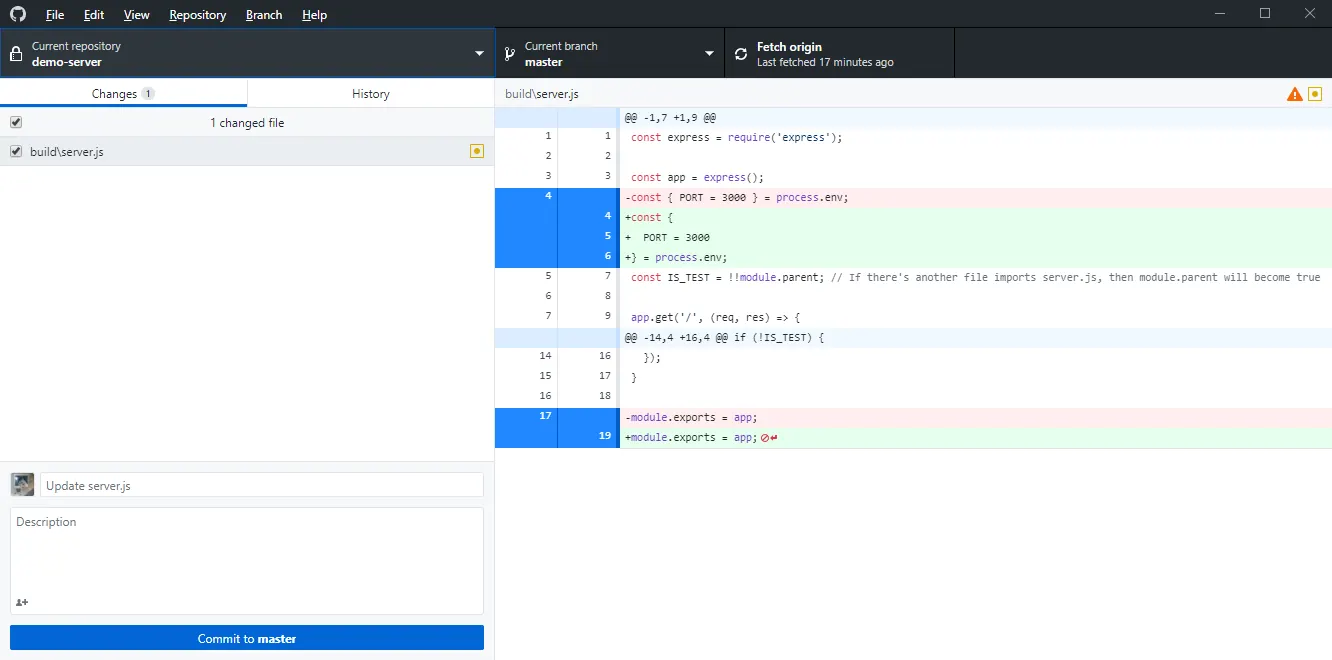
因為 我們有設置 github hook 所以 commit 會觸發
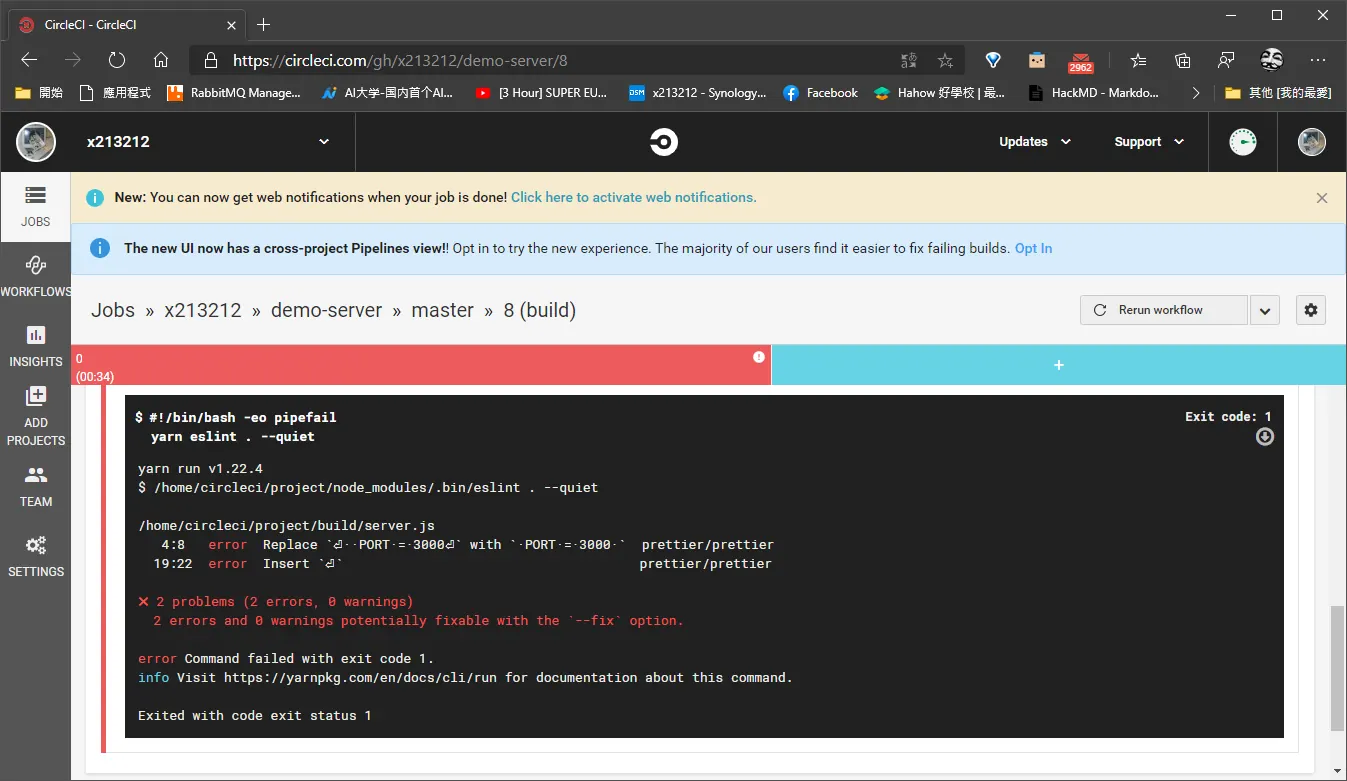
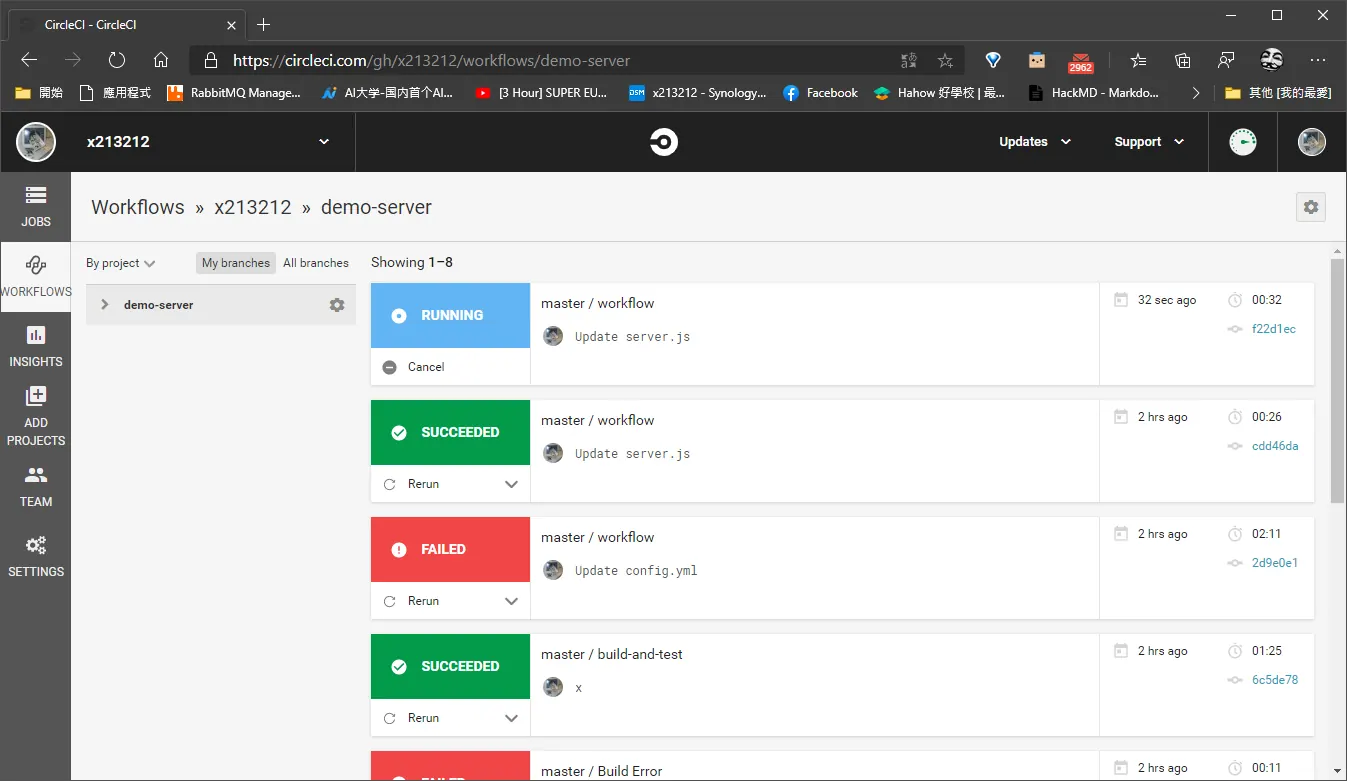 這邊可以看到原因
格式有問題
這邊可以看到原因
格式有問題
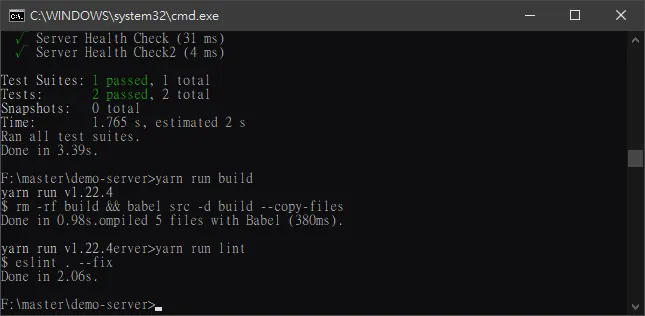
 我們來下
我們來下
yarn run lint
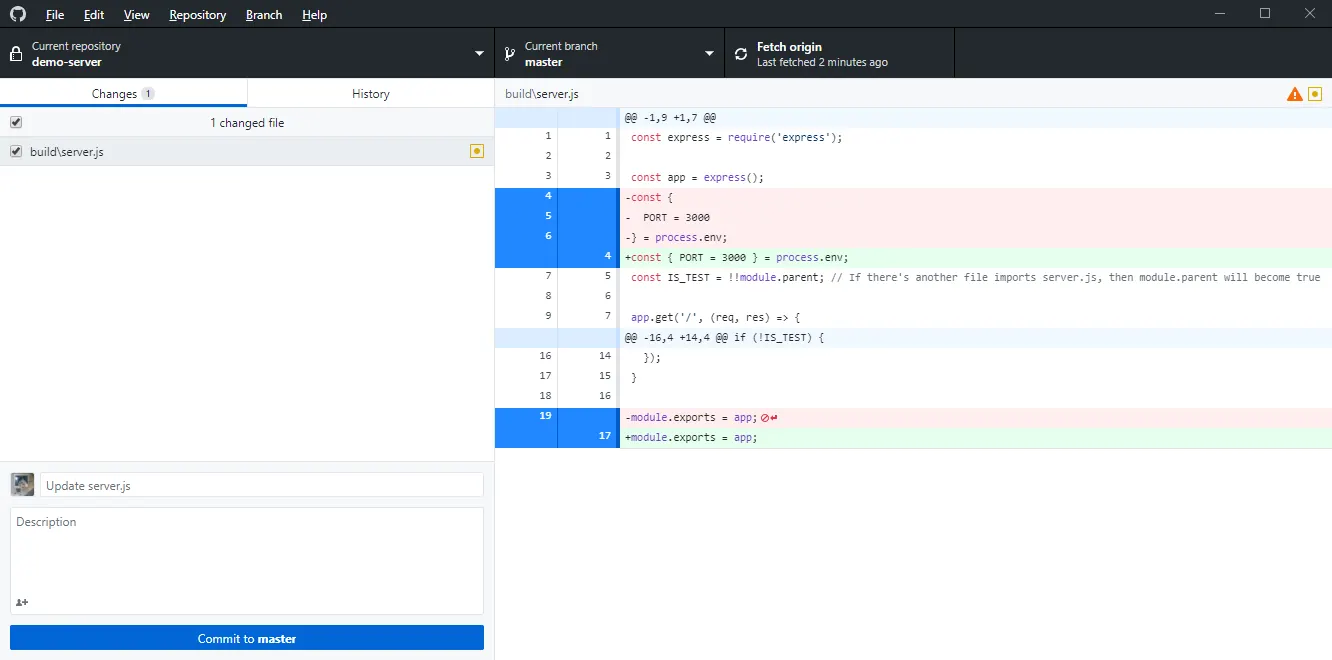 修復後上傳
修復後上傳
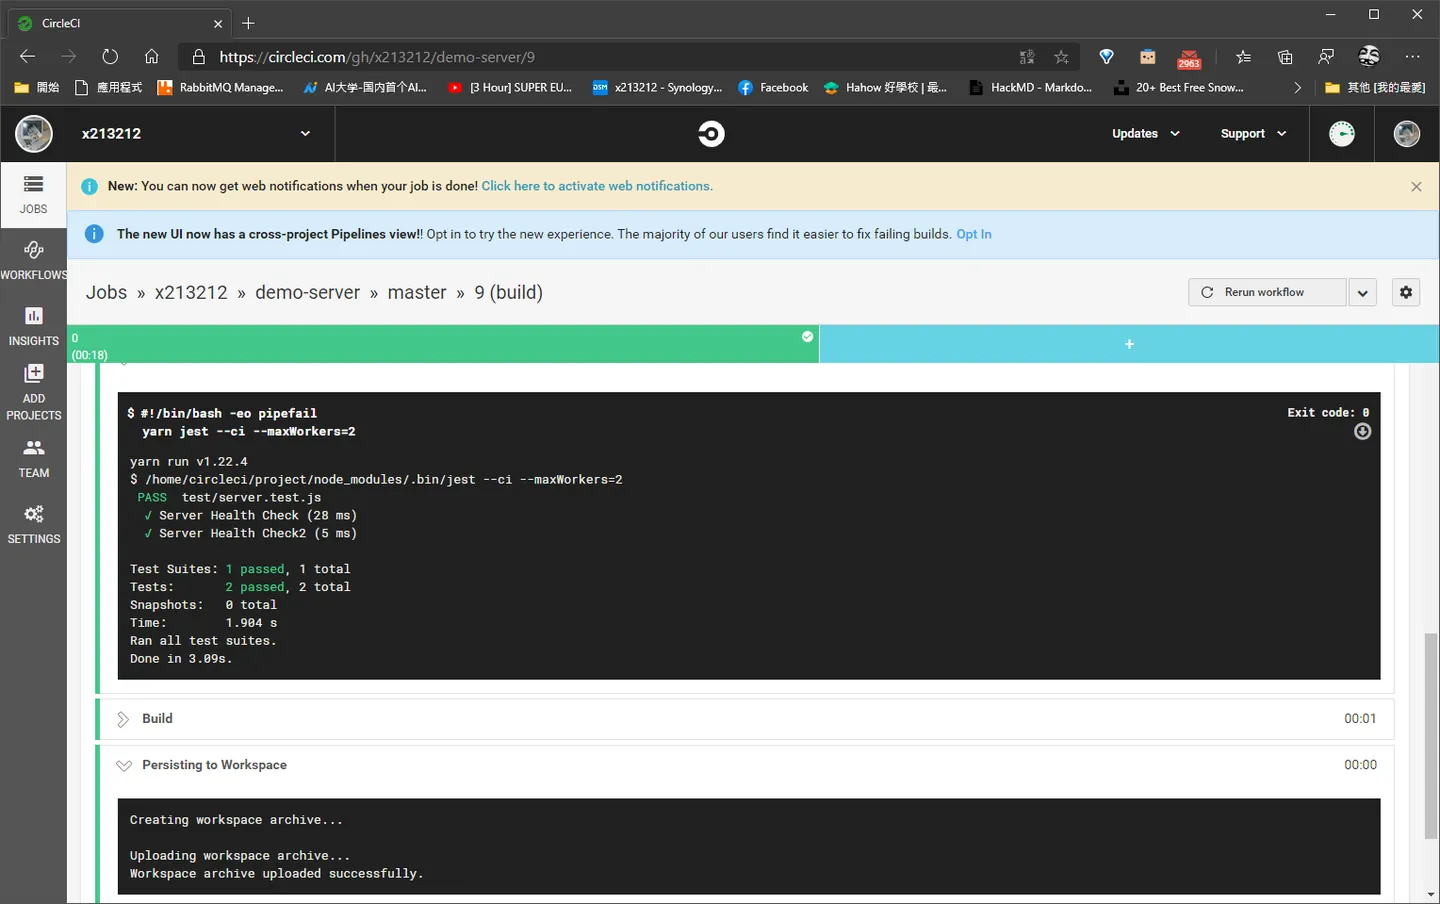 可以看到成功了 到目前為止我們的 CI 已經完成囉,椅子爆了 QQ
Comments